Assemble test pipeline via Pipeline Assembler
Before start
Make sure you have all test cases which you’ll use have been registered in the Test Case Library
Make sure you’ve had idea of how these test cases are logically connected to each other.
Introduce Pipeline Assembler
What is Pipeline Assembler?
Pipeline Assembler is a Web UI based test pipeline assembling tool. It provides Testany Platform users with an interface to assemble test pipelines through drag-and-drop methods, helping users to generate test pipelines that can be called and run by the Testany Platform more conveniently and intuitively.
Where to find the Pipeline Assembler?
In any workspace you have access to, click “Assemble Pipeline” button at top-right corner of the pipeline list page like below:

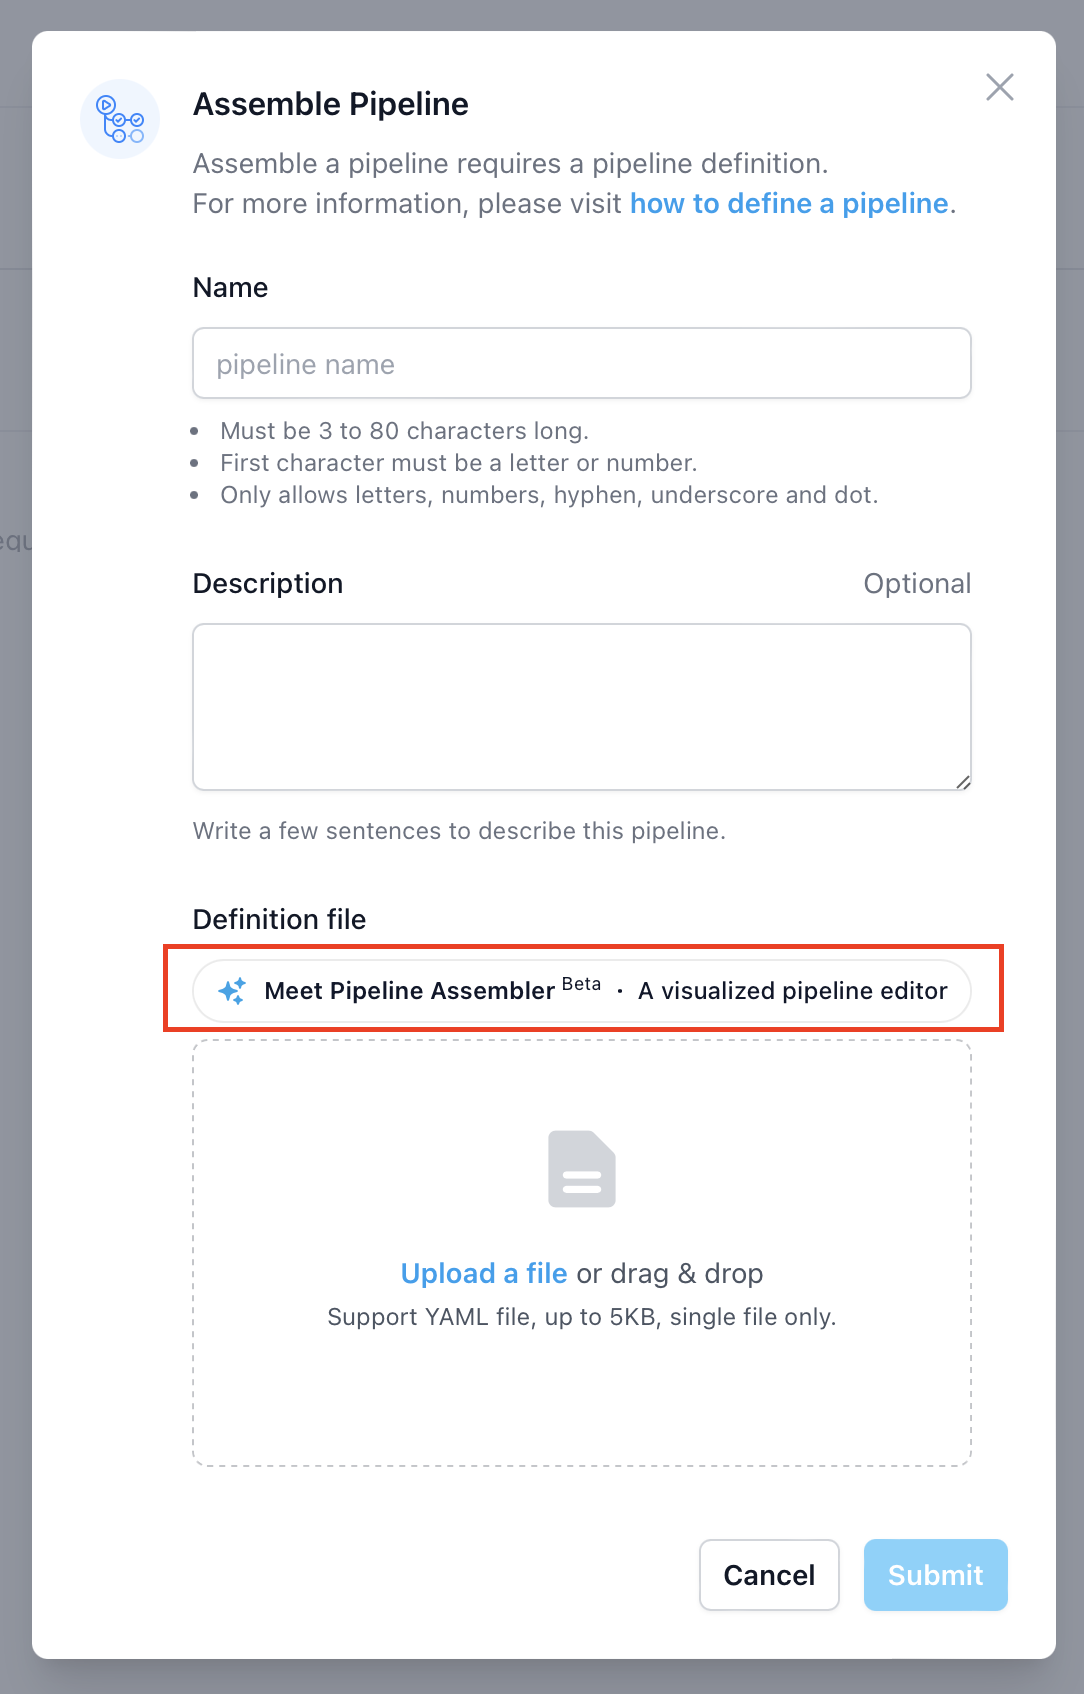
In the “Assemble Pipeline” pop up window, you’ll see the “meet Pipeline Assembler” button like below:

You may enter Pipeline Assembler by clicking this button.
Please note: You can still use the existing pipeline assembly method of uploading .yaml pipeline definition file. The entire journey has no change.
Pipeline Assembler UI quick guide
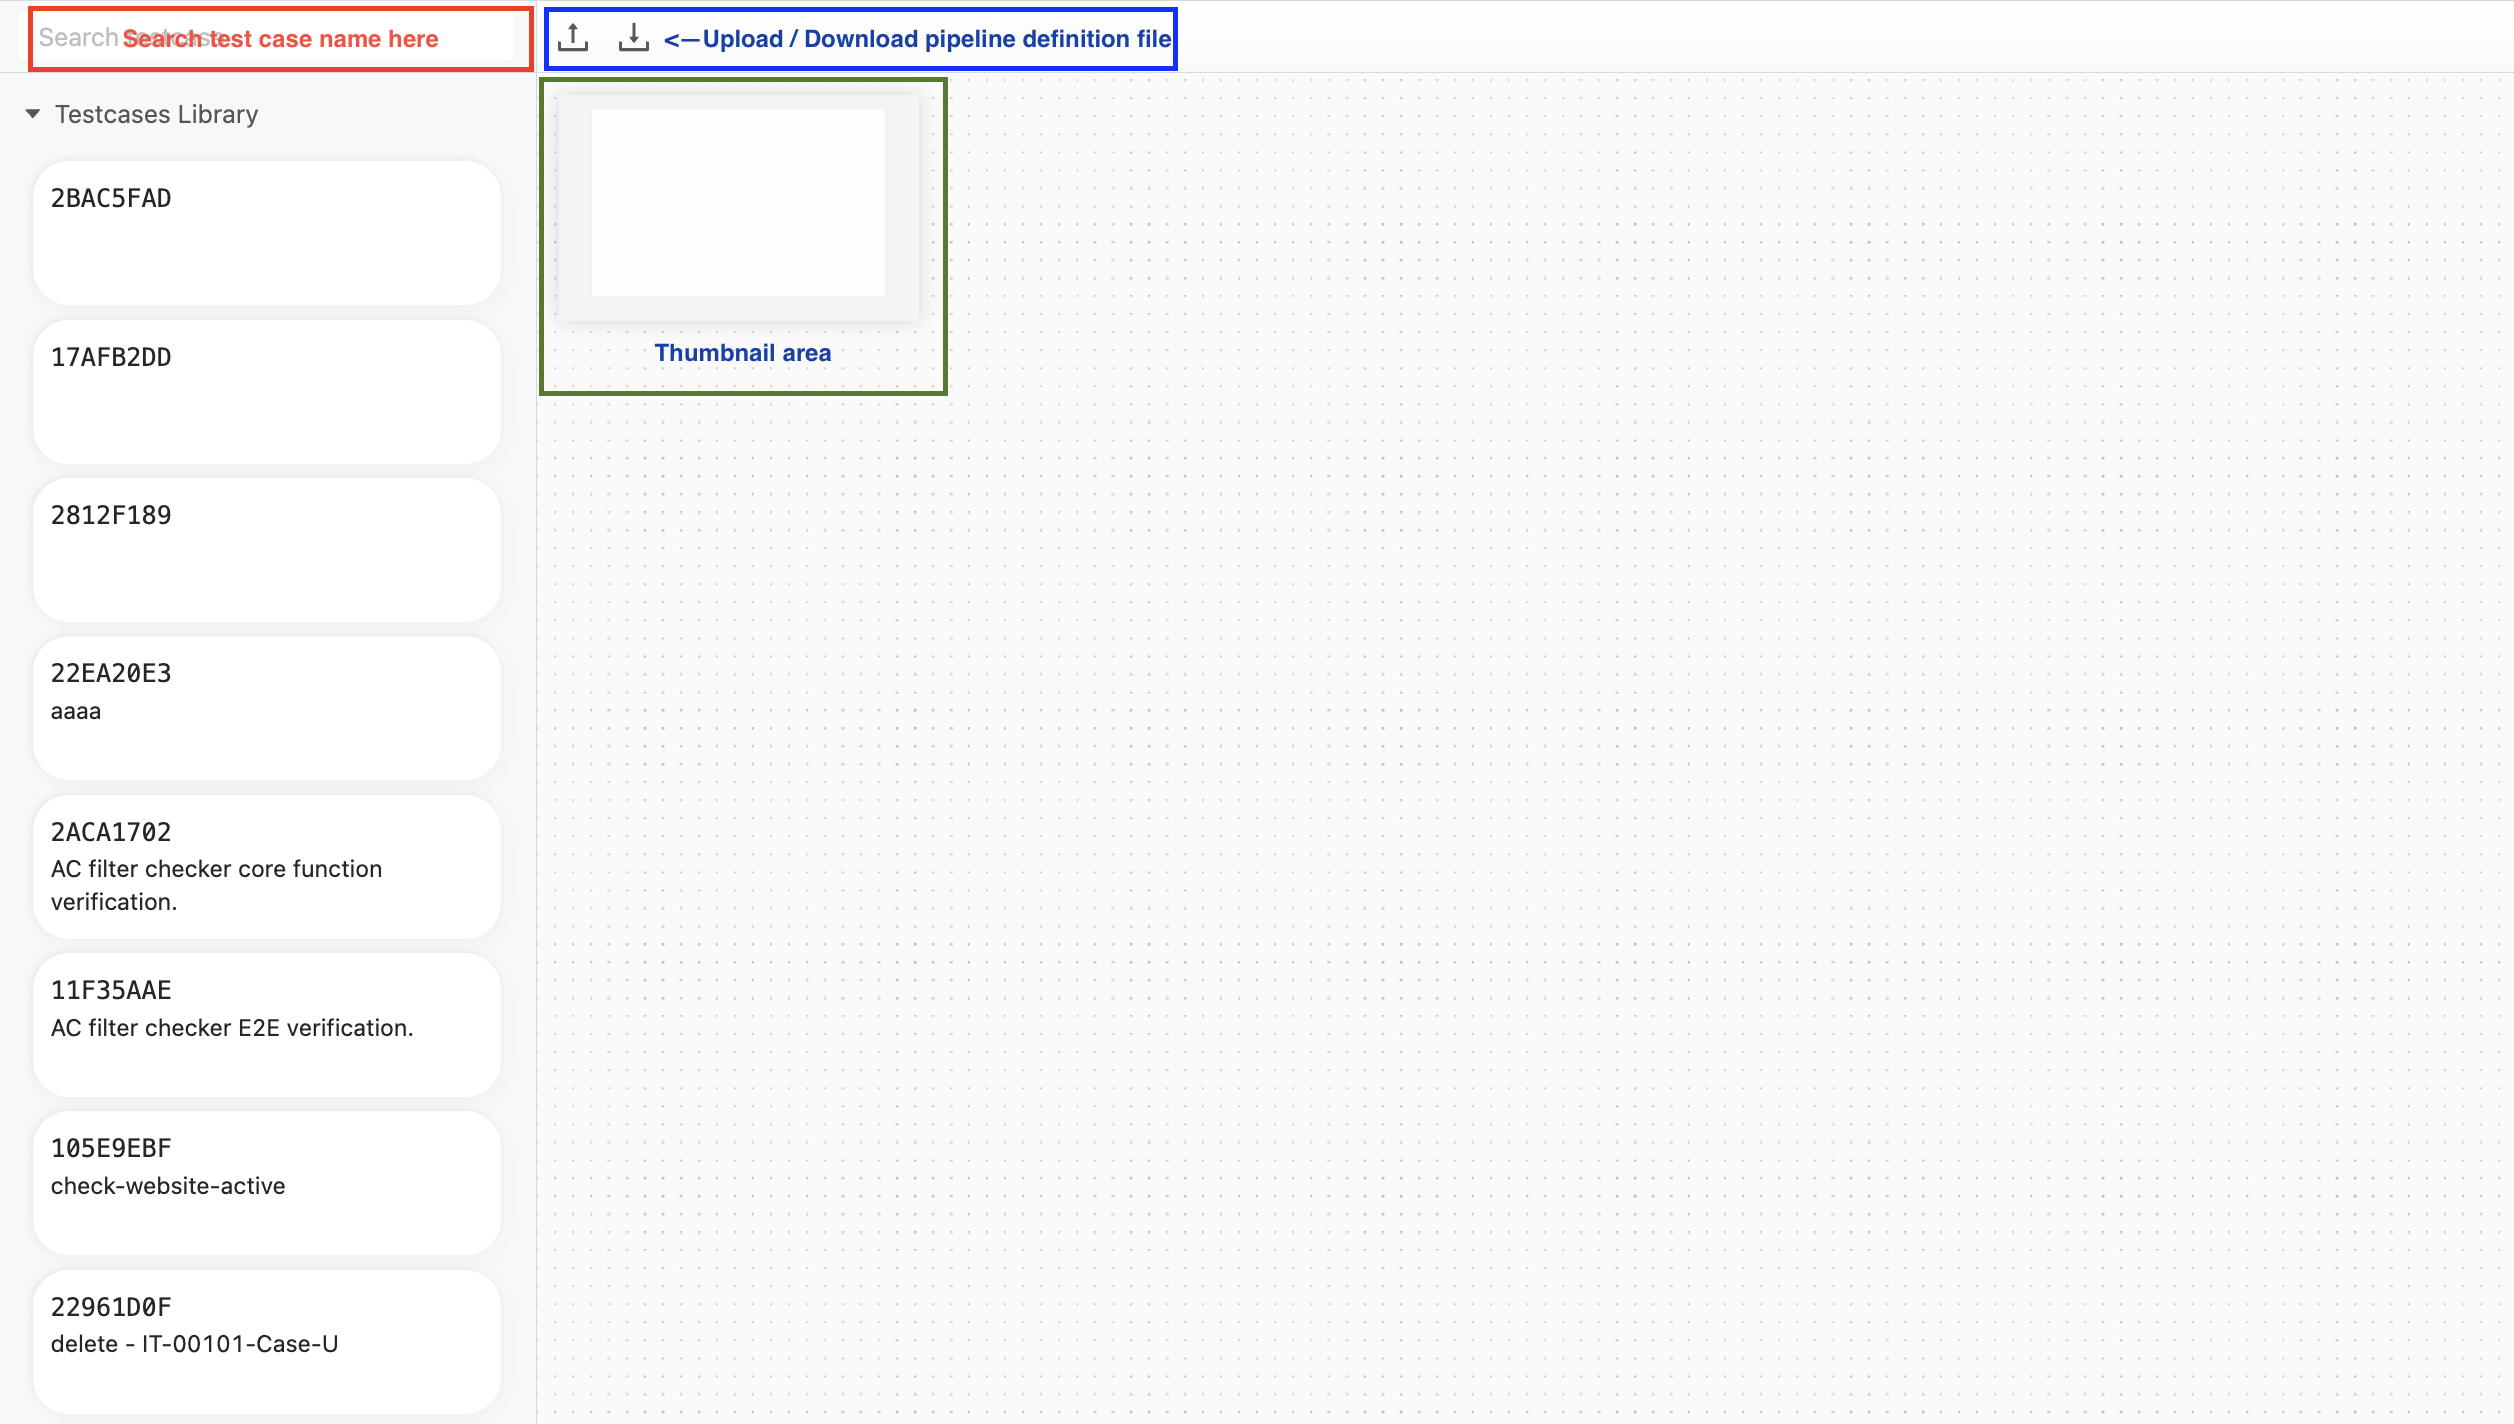
After you open the Pipeline Assembler page, you can see the UI below:
It’s a quite simple and intuitive UI, which includes search box (search test case name), upload/download button, test case list area, thumbnail area, and most importantly, the canvas.

Assemble a new test pipeline
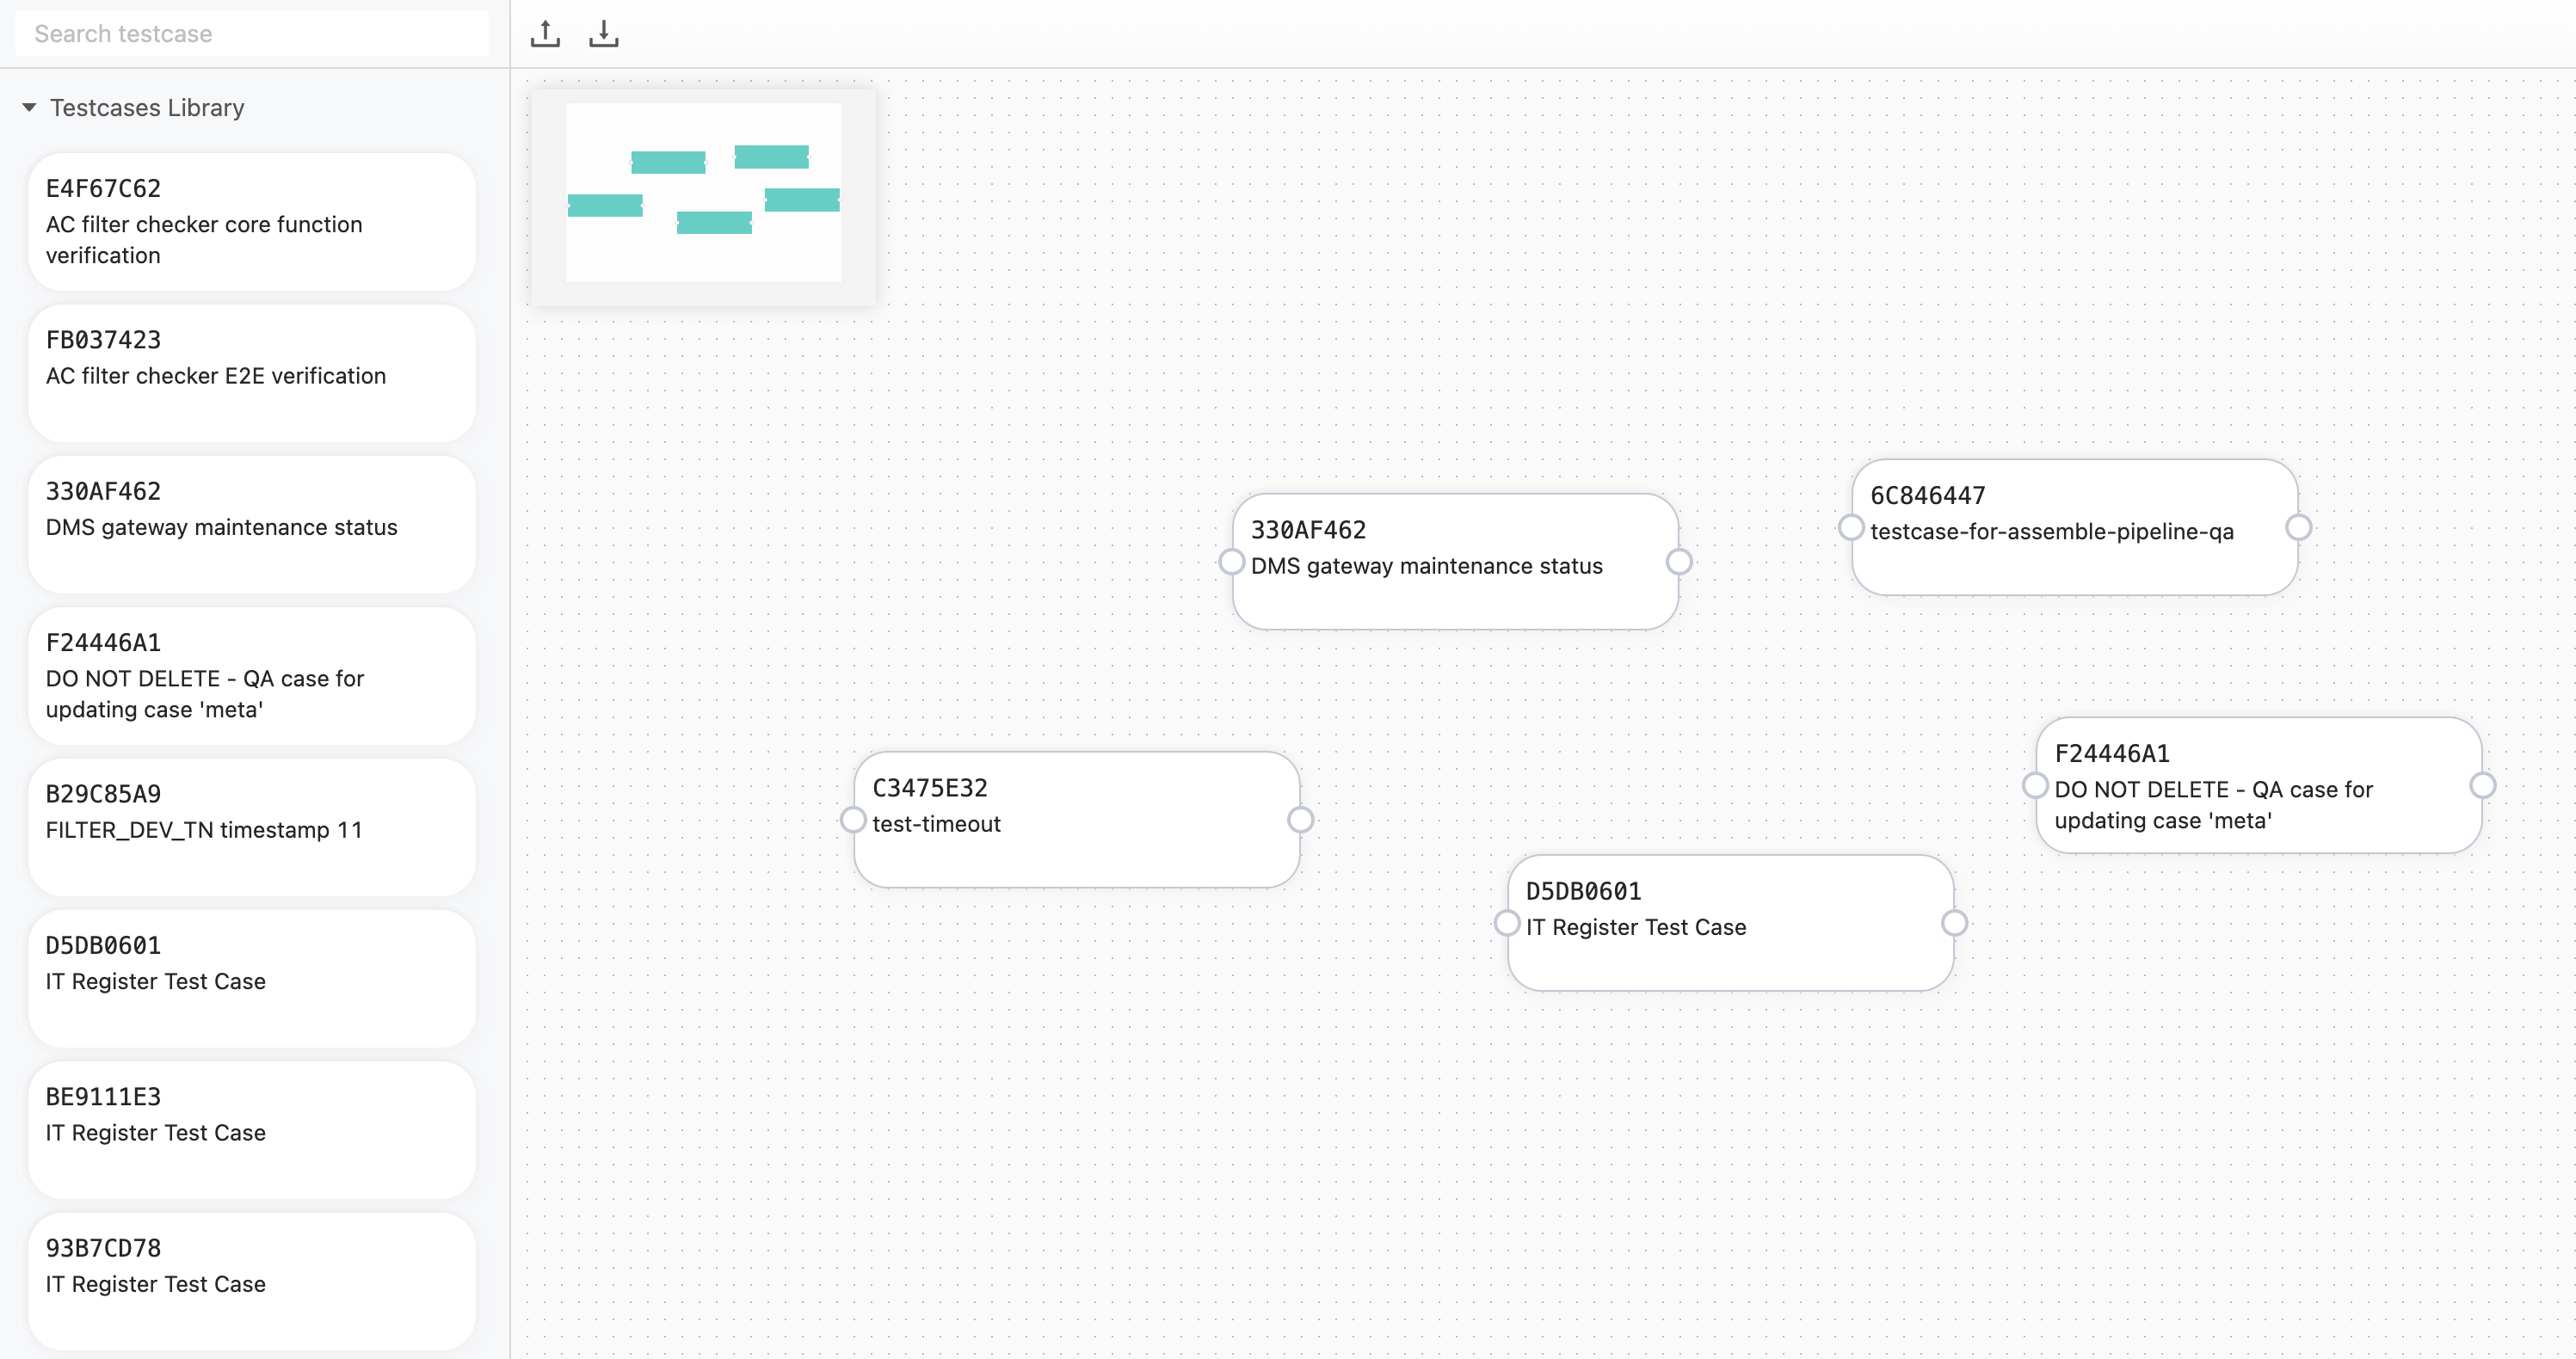
Select test cases: You can simply drag-n-drop the test cases you need to the canvas. If the case(s) you needed doesn’t appear in the case list area, you can search its name in the search box and find it.

Create connections: Each rounded rectangle representing a test case has a hollow circle on each side. The one on the left represents ‘trigger this case’, and the one on the right represents ‘triggered by this case’. You can start dragging from the hollow circle on the right side of a certain case (for example, A), and a line will appear. Continue dragging the line to connect it to the hollow circle on the left side of another case (for example, B). This represents that test case A’s execution result triggers test case B.
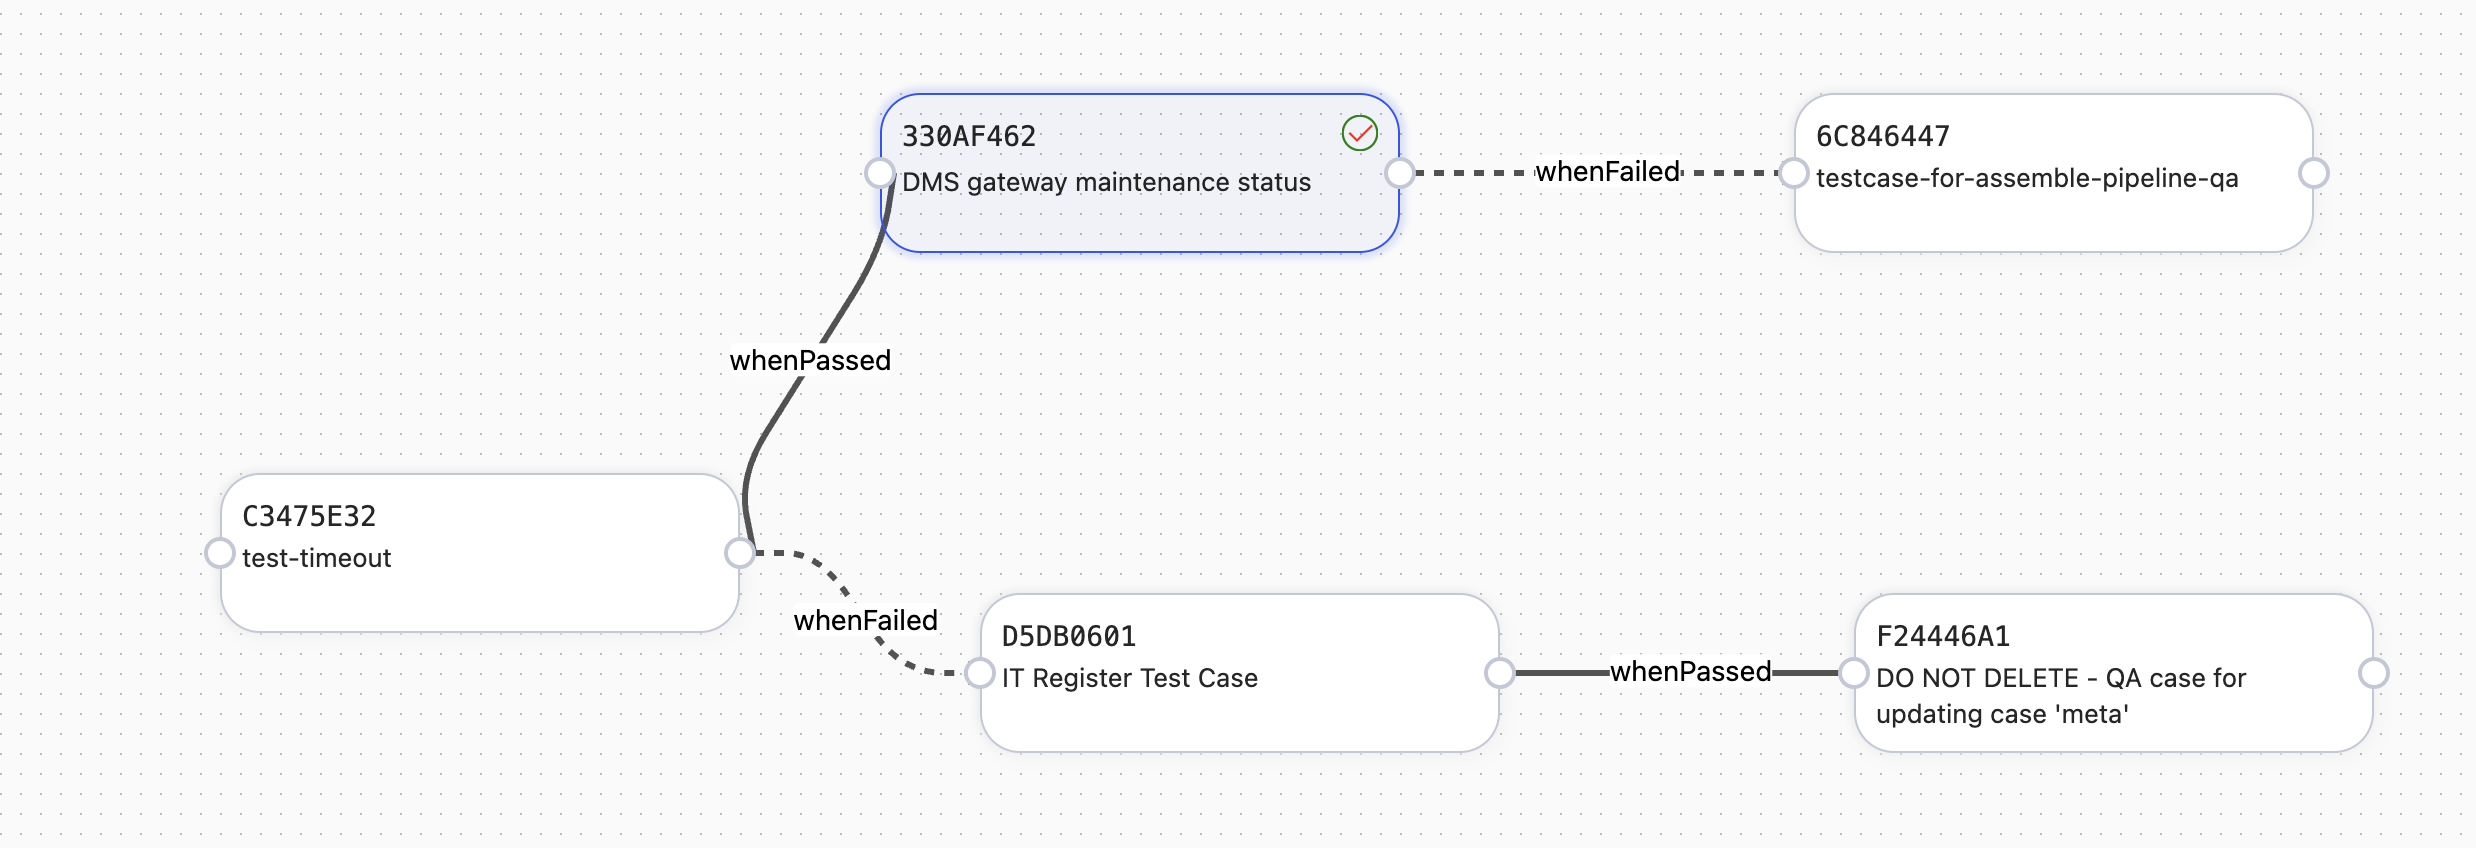
If you want to change the trigger condition, for example, from “execute when the previous case succeeds” to “execute when the previous case fails”, you can right-click on the line and select “Switch Condition” from the context menu.
If you want to mark a case as ‘expect fail’, you can right-click on the case graphic and select ‘Switch condition’ from the context menu. The case marked as ‘Expect Fail’ will have a green border circle at the upper right corner with a red checkmark inside.
After the connections are created, you’ll eventually have a graphic like above. In above case, the graphic equivalent to below pipeline definition yaml:
CODEkind: rule/v1.1 spec: rules: - run: C3475E32 - run: 330AF462 whenPassed: C3475E32 expect: fail - run: 6C846447 whenFailed: 330AF462 - run: D5DB0601 whenFailed: C3475E32 - run: F24446A1 whenPassed: D5DB0601Save and upload to Testany Platform:
You can click the “download” button in the top bar of Pipeline Assembler, a .yaml file which contains the pipeline definition you just created will be saved to your local folder. Go back to Assemble Pipeline pop up window in Testany Platform and upload it to complete your pipeline assembly.
Edit an existing test pipeline
If you want to use the Pipeline Assembler to edit an existing pipeline definition file, you can click the upload button at the top bar on its interface and drag the existing .yaml file into the upload box. The remaining steps are the same as the previous section.
Please note that if the .yaml file you prepared has syntax errors that the Testany Platform cannot parse, the file will not be successfully uploaded. Also, if the .yaml file you prepared references test cases that are not in the test case library, then that pipeline file will not be downloadable.
