Manage Directory View of Test Case
1. Overview
The Directory View feature in Testany is built on the concept of labels, providing a folder-like hierarchical structure for visually organizing and browsing test cases. Unlike a traditional filesystem, where folders determine file locations, this directory view leverages labels to determine which directories (or “folders”) a test case appears in, making the classification and display more flexible.
Core Principle of the Directory View
Label-Driven Directory Structure
Each directory in the view has a name that corresponds to a Testany label of the same name.
If a test case has labels matching this directory and all of its parent directories, it will appear under that directory in the hierarchy.
'TestCaseLibrary' is the build-in root directory that typically exists by default and does not directly correspond to any label. It cannot be removed.
One-to-Many Mapping
Because a test case can hold multiple labels, it can appear under multiple directories (or multiple hierarchy levels) at once.
When a test case has multiple label sets that meet different directory requirements, the test case can appear in all matching directories.
Advantages of the Directory View
More Intuitive Hierarchy
By representing related labels as parent and child directories, users can quickly grasp the “directory → subdirectory → test case” structure at a glance, reducing the complexity that can sometimes occur in a flat label system.
Compatibility with Existing Labels
The directory view does not alter how labels are stored at the data level. Rather, it “aggregates and displays” test cases that share the same label(s) on the pages. You don't need to migrate or modify your existing test cases to benefit from this approach.
Flexible Organization
A single test case can match multiple directory rules, effectively creating “soft links” so that the test case can appear under several directories.
Users can add, remove, or modify labels at any time, and the directory view will instantly update to reflect these changes in structure.
Two Main Filtering Modes
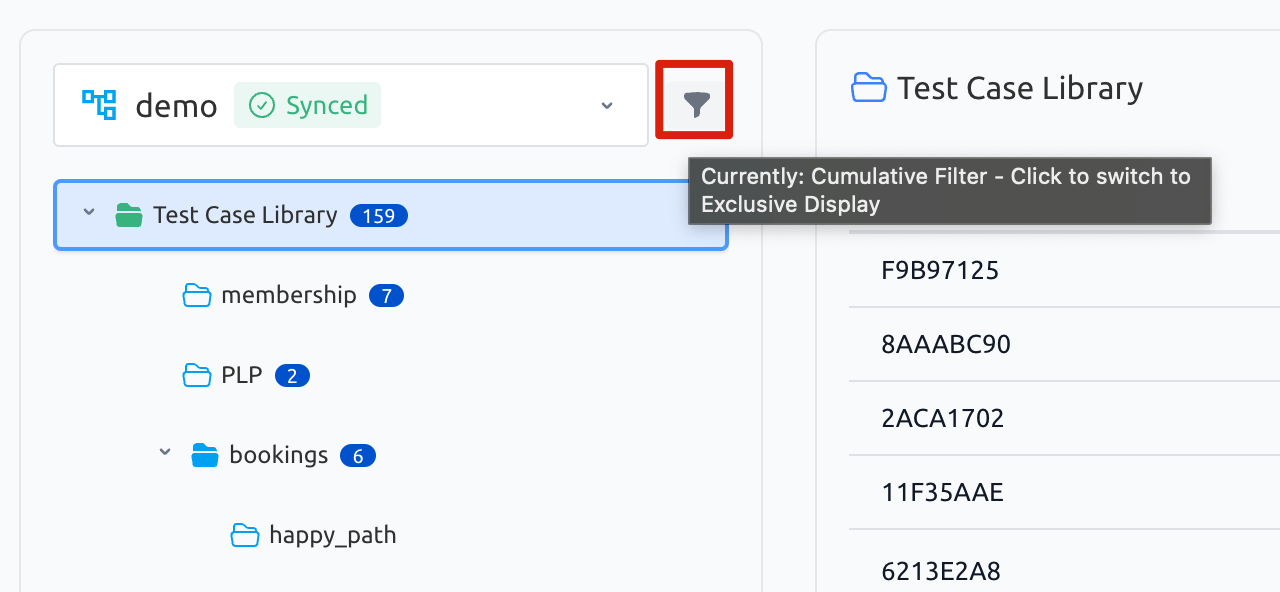
Cumulative View
In Cumulative View, when you select a directory, the list of test cases on the right includes test cases from that directory as well as all of its subdirectories. In other words, if a test case appears in any subdirectory, it will also appear in the parent directory's test case list.
Exclusive View
In Exclusive View, the list of test cases on the right only shows those directly associated with the chosen directory, excluding any subdirectory content. Put simply, only test cases explicitly labeled for this directory (and not just its subdirectories) will be displayed in the list.
Example:
Here is the active directory structure:
TestCaseLibrary
 └─ API
     ├─ Auth
     └─ Payment
         ├─ Refund
         └─ History
There are test cases with the following labels:
ABCD0001:with labels
API,PaymentABCD0002:with labels
API,Payment,RefundABCD0003:with labels
API,Payment,HistoryABCD0004:with labels
API,AuthABCD0005:with labels
Regression,AuthABCD0006:with no label
In Cumulative View, each directory will display the test cases as follows.
Directory | Logic | Case Keys | |||
|---|---|---|---|---|---|
| Show all test cases in the system |
| |||
| Show test cases labeled with |
| |||
| Show test cases labeled with |
| |||
| Show test cases labeled with |
| |||
| Show test cases labeled with |
| |||
| Show test cases labeled with |
| |||
In Exclusive View, each directory will display the test cases as follows.
Directory | Logic | Case Keys | |||
|---|---|---|---|---|---|
| Show test cases without any label |
| |||
| Show test cases labeled with | - | |||
| Show test cases labeled with |
| |||
| Show test cases labeled with |
| |||
| Show test cases labeled with |
| |||
| Show test cases labeled with |
| |||
2. How-To
Creating or Modifying a Directory
When you create a new directory in the directory view, you're effectively adding a label of the same name (if it doesn't already exist). If you choose to nest this new directory under an existing directory, you define a parent-child relationship in the visual hierarchy.
Having a Test Case Appear Under a Directory
To place a test case in a specific directory, simply assign the label corresponding to that directory to the test case. If the directory is nested, you'll also need to assign labels for its ancestor directories so that Testany recognizes the full path. Once these labels are in place, the test case automatically appears at the appropriate level in the directory view.
Appearing in Multiple Directories
If a test case holds multiple sets of labels corresponding to different directory structures, the test case will appear under all of those directories. This is especially helpful for cross-functional or more complex scenarios where a test case might be relevant to multiple categories.
Removing a Test Case
If you remove a directory-related label (or one of its parent directory labels) from a test case, that test case will no longer appear in that directory in the view.
3. Steps-by-steps Guide
3.1 Pre-steps
3.1.1 Navigate to Directory View
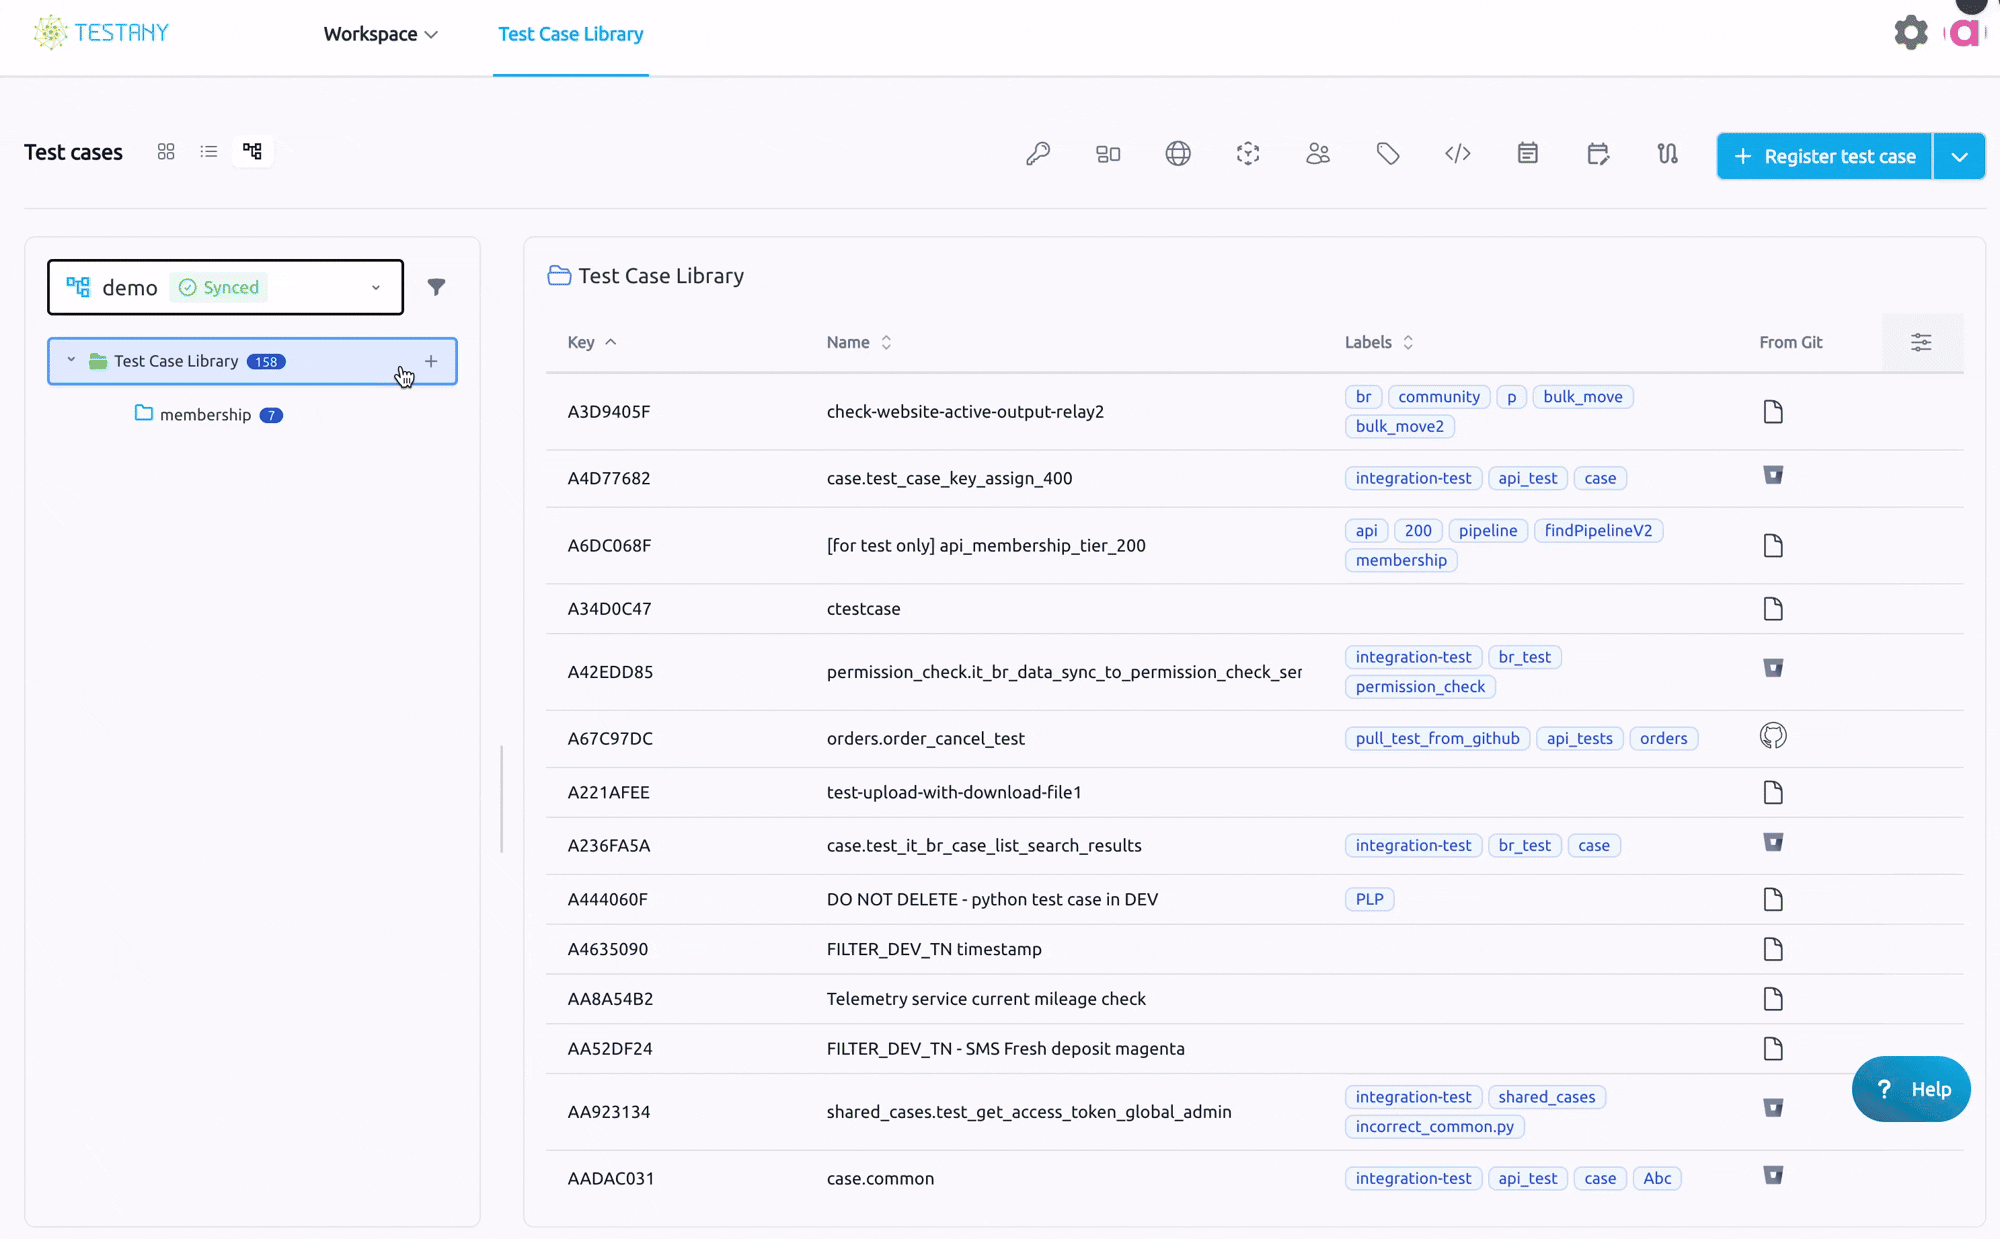
Navigate to the Directory View in the Test Case Library.

3.2 Manage Directory View List
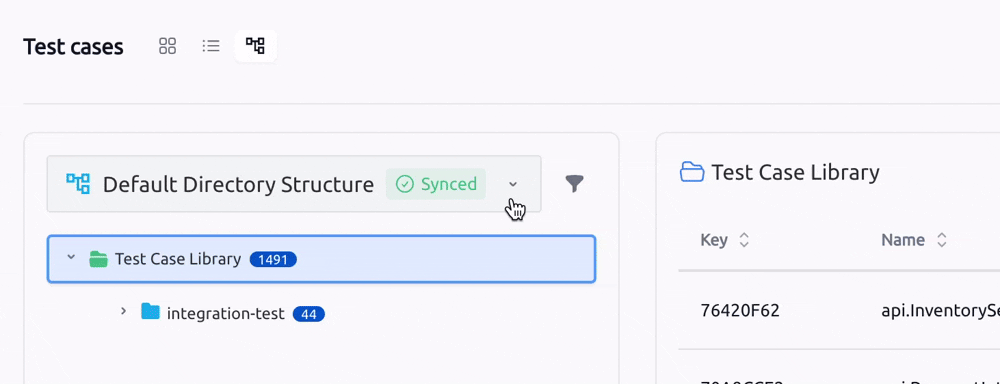
All changes are saved automatically. You can also click the “Synced” button if needed.
3.2.1 New a Directory View
Expand Directory View List dropdown and click '+ New Structure'. A directory view named “New Structure 1” is created by default.
3.2.2 Rename a Directory View
Expand Directory View List dropdown.
Click the pencil icon next to the directory view you wish to rename.
Type the new name.
Click ✅ to save.
3.2.3 Set an Active Directory View
Expand Directory View List dropdown.
Select the directory view you want to set as active.
The current Directory View will update to the selected view.
3.2.4 Delete a Directory View
This action is irreversible. Please proceed with caution.
Expand Directory View List dropdown
Click 'x' button next to the directory view you want to delete.
Click 'Delete' in the confirmation popup.
A success message will appear above the Directory View List dropdown once deletion is complete.
%20(1).gif?inst-v=07864bc4-715d-4f60-b8f8-0d2f7bf42d59)
3.3 Manage Directory Structure
3.3.1 Add a subdirectory
Select the directory to which you want to add a subdirectory.
Hover on the right side of the directory name and click the '+' button.

In the Add Subdirectory pop-up, search for an existing label or type a new name to create one.
Click 'Done'.
3.3.2 Reorder directory
3.3.2.1 Move a directory into another (as a subdirectory)
Select the parent directory into which you want to move the target directory.
Drag the target directory over the parent directory until a blue dotted outline highlights the parent, then release.
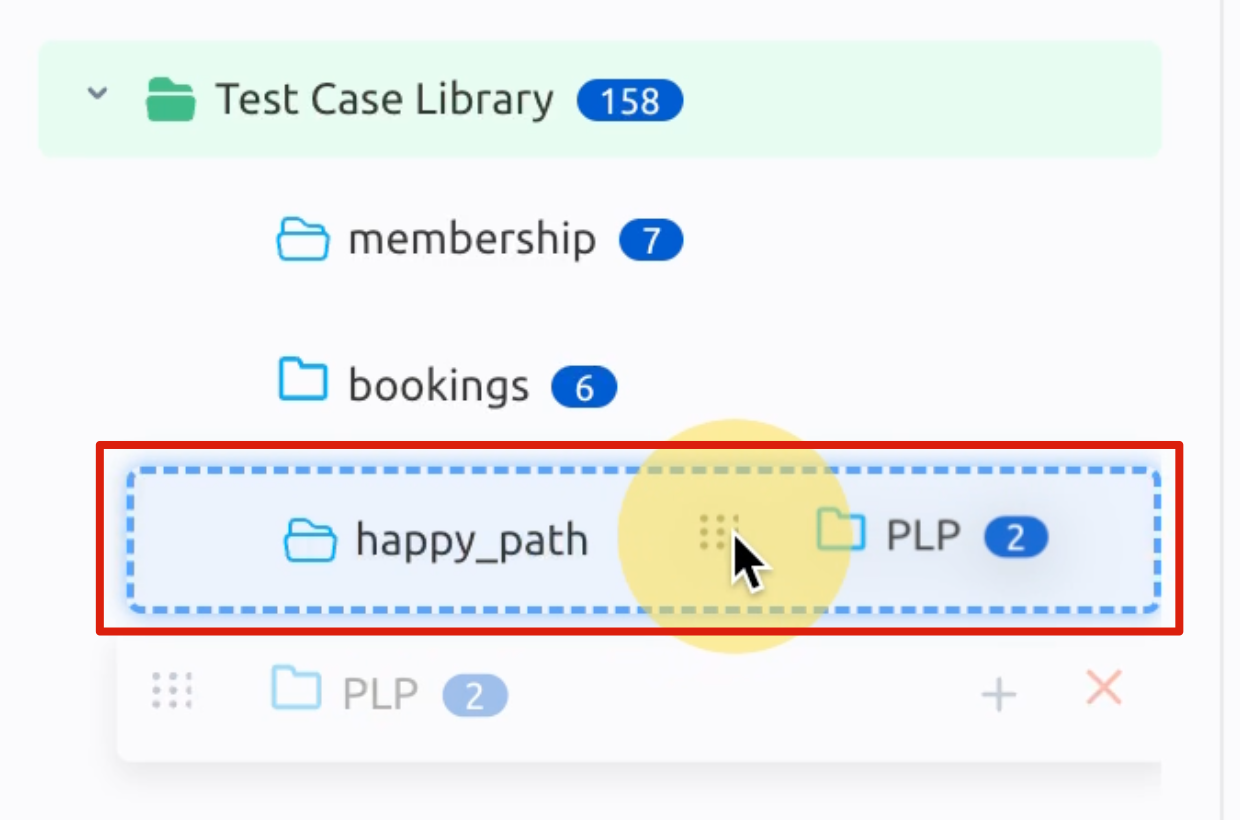
Example: Moving PLP under happy_path: drag PLP onto happy_path until a blue dashed box highlights happy_path.
3.3.2.1 Move a directory to higher level
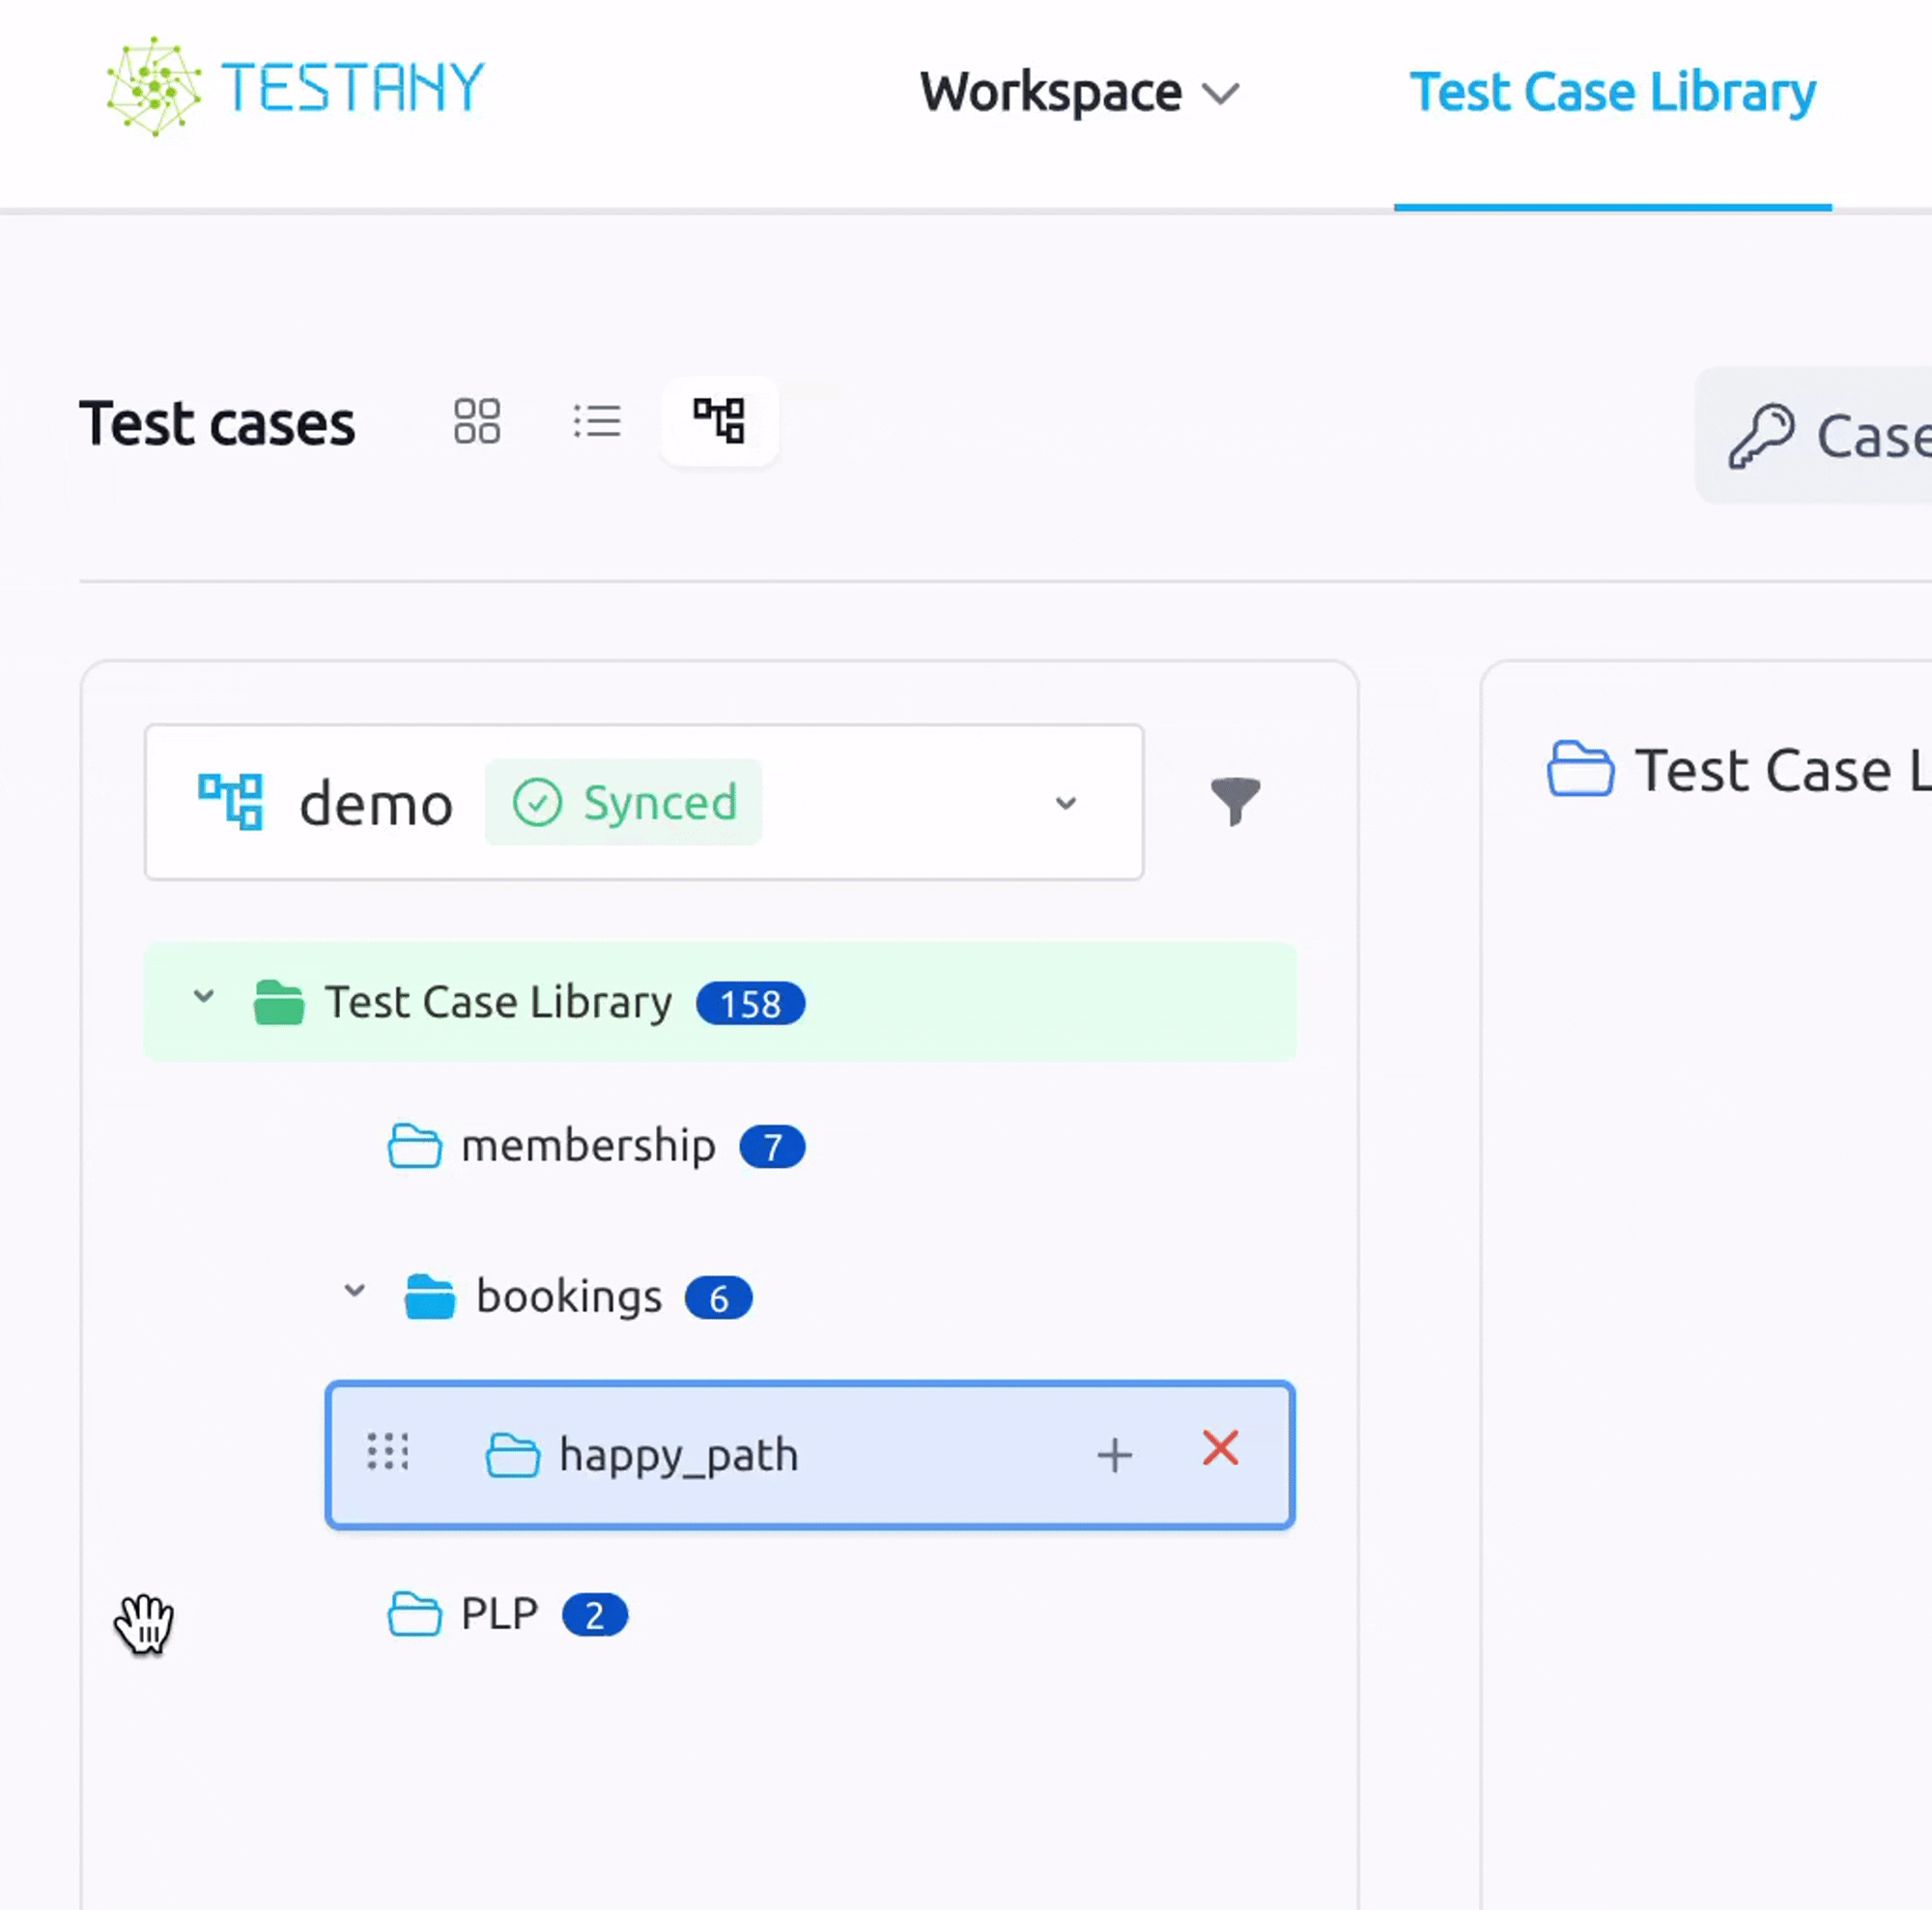
Select the directory you want to move to a higher (parent) level.
Drag it to the target area (e.g. between two sibling directories or under/above a sibling directory) until a blue dotted box appears exactly where you want the directory placed, then release.
Example: Moving happy_path to the same level of bookings and between bookings and PLP.
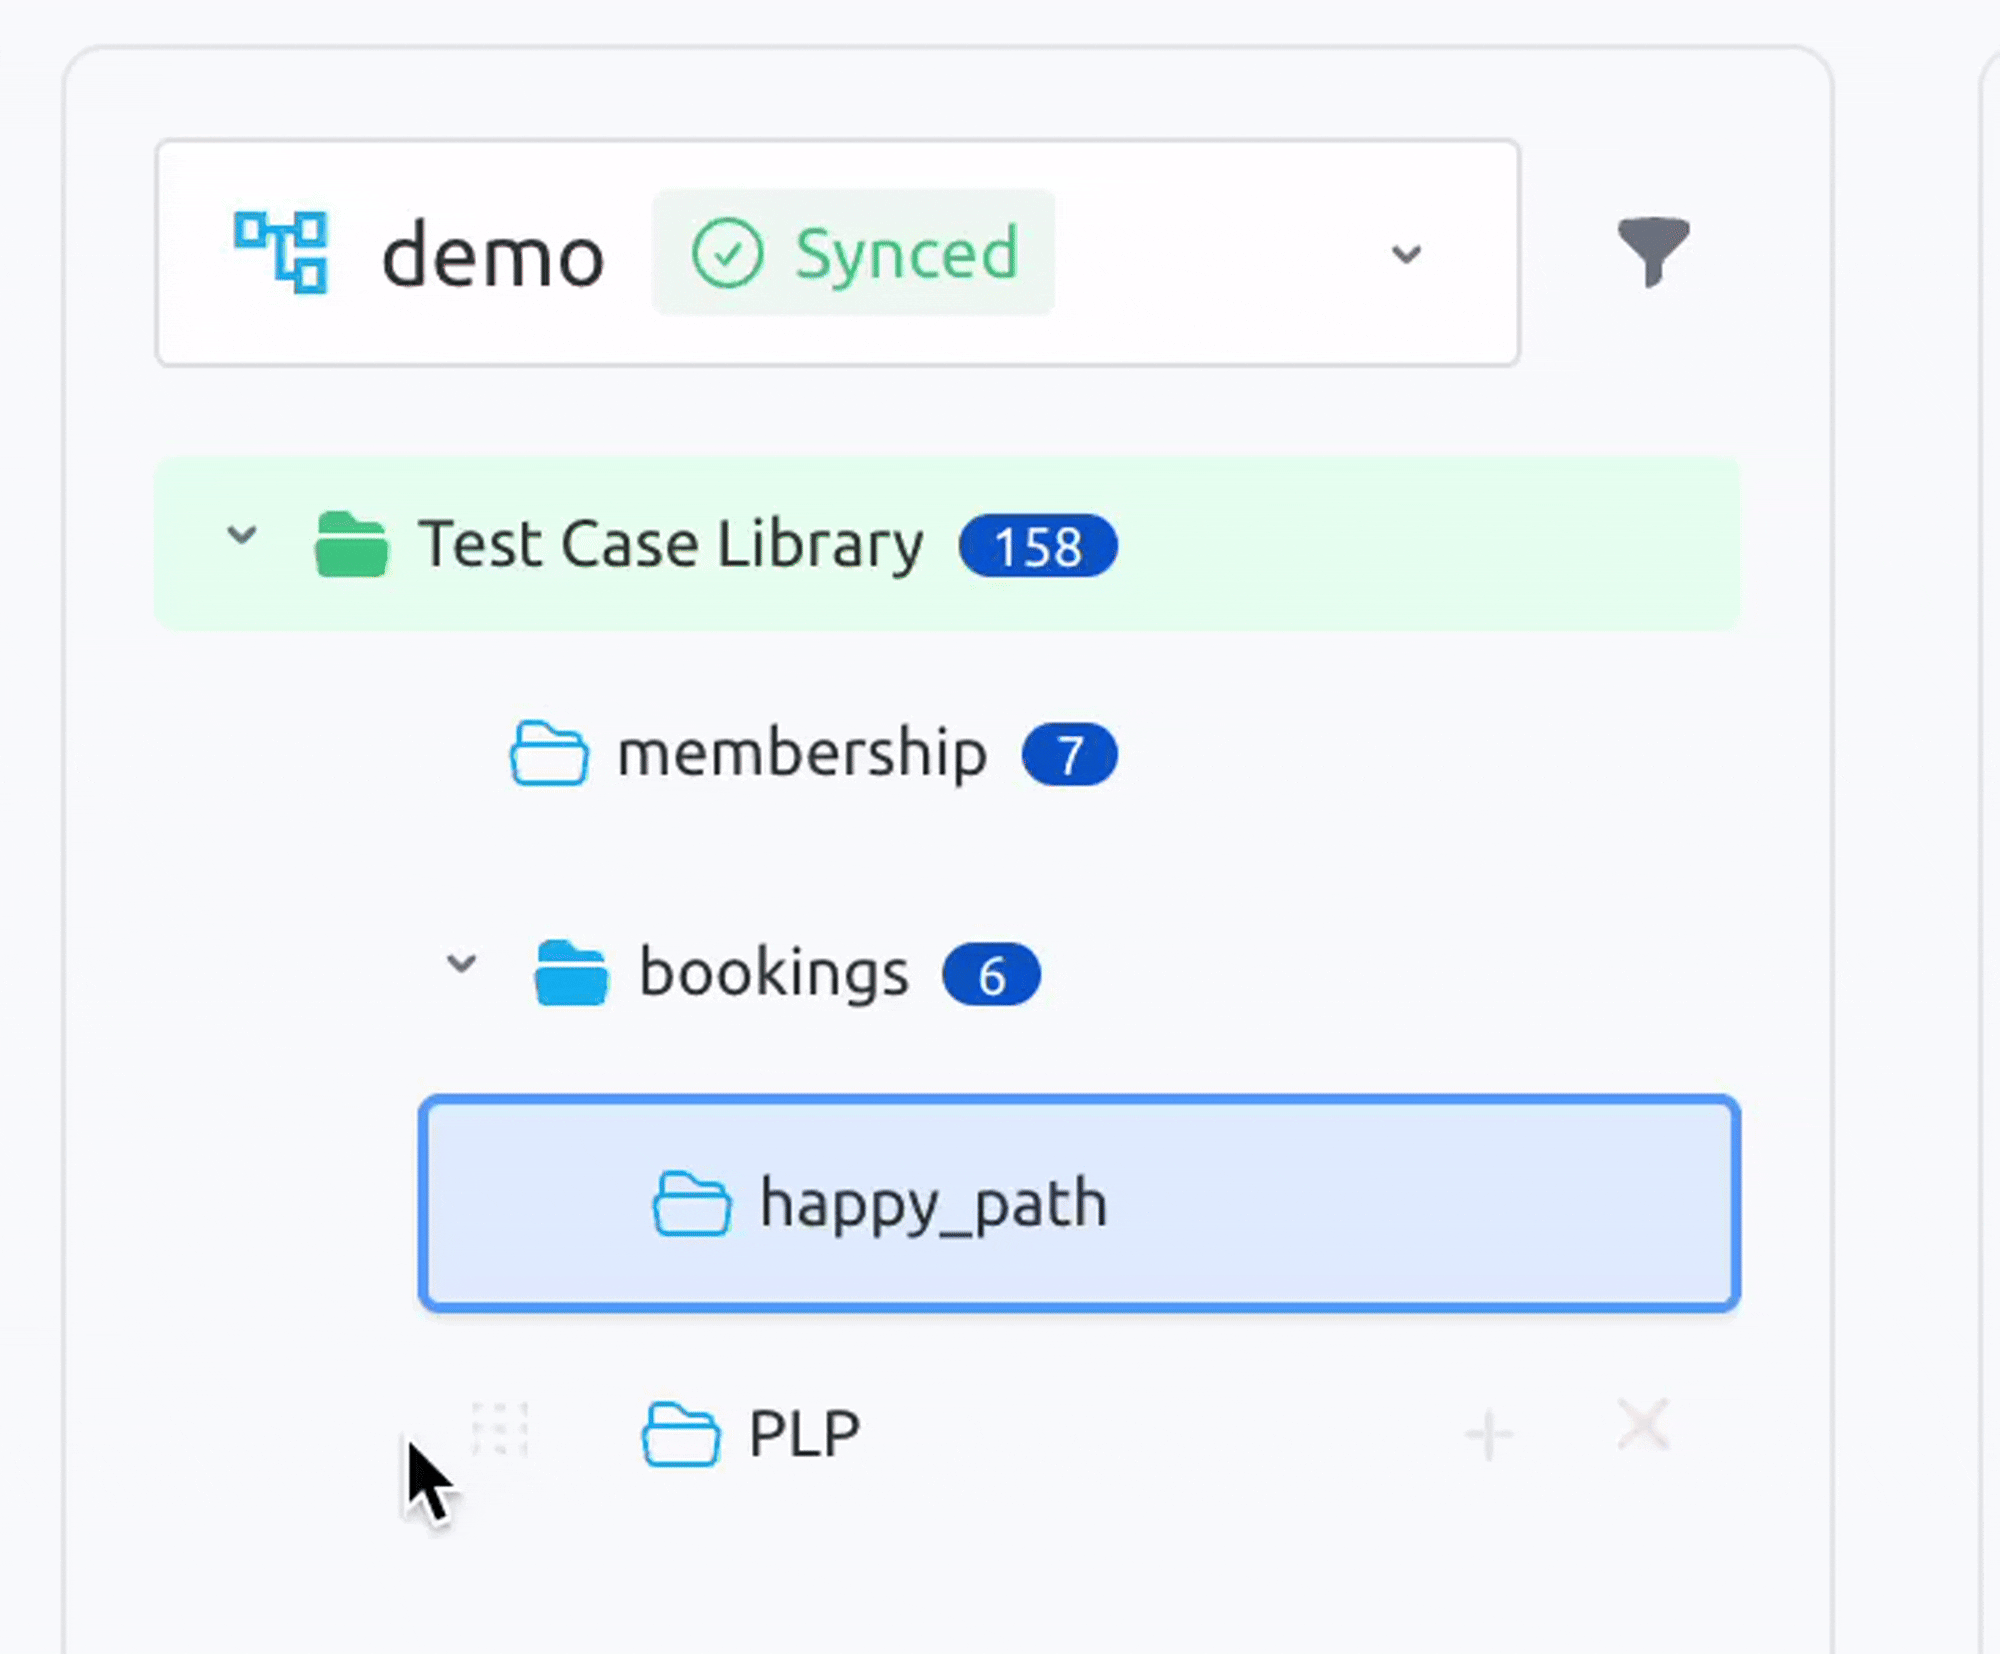
3.3.2.1 Reorder directory in the same level
Select the directory you want to reorder within the same level.
Drag it until a blue dotted box appears in the desired position, then release.
Below screenshot illustrated moving PLP between membership and bookings.
3.3.2 Delete a directory
Select the directory to which you want to delete.
Hover on the right side of the directory name and click the 'x' button.
In the Delete Directory pop-up, click 'Delete'
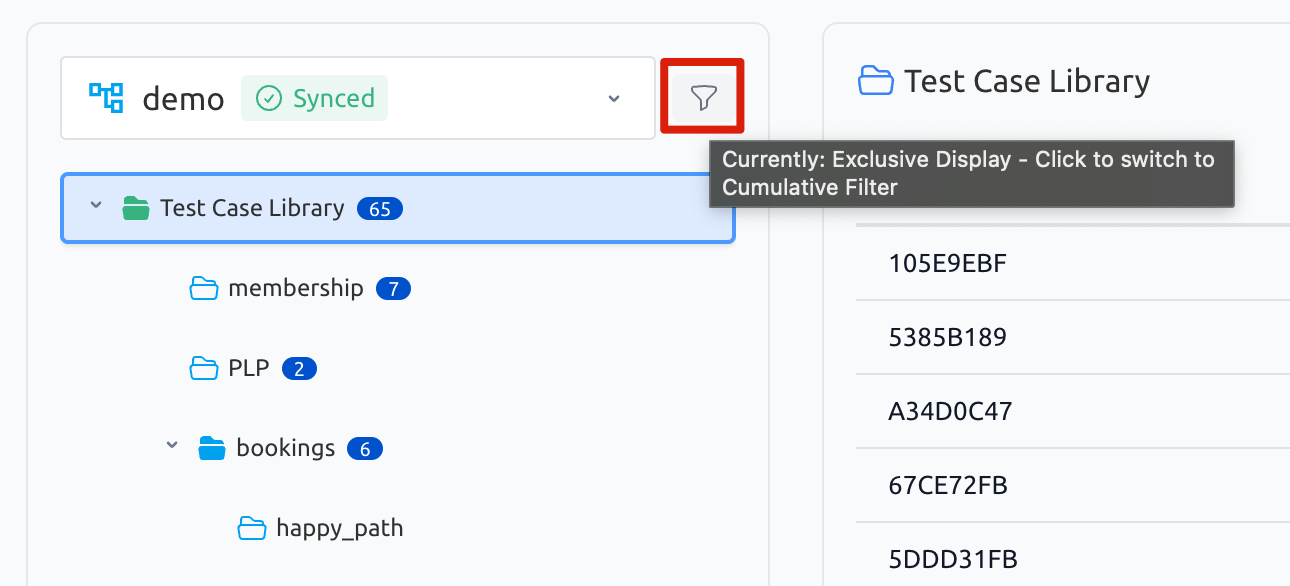
3.4 Switch Filter
Click the 'Filter' button to switch between Cumulative View and Exclusive View.
Cumulative View
Exclusive View