
Managing Test Case
Overview
Test cases are the cornerstone of the Testany Platform, enabling users to define specific scenarios for testing their applications. Every user, regardless of their role, can register and manage their own test cases. However, only the creator of a test case has the ability to update or delete it, while others can only view it.
Understanding a Qualified Test Case
A qualified test case should meet the following criteria:
Clear Objective: It should have a well-defined purpose and target a specific aspect of the application.
Reproducibility: It must be consistent in its execution, producing the same results under the same conditions.
Independence: It should be self-contained, not relying on other test cases to function.
Measurable Outcome: The results should be quantifiable and measurable to determine success or failure.
Compliance with Platform Standards: It must adhere to the specific guidelines and formats defined by the Testany Platform.
Test case on Testany Platform
Test frameworks the platform supports
A key feature of the Testany Platform is its support for multiple testing frameworks, and the ability to assemble test cases from different testing frameworks within a single test pipeline. Currently, the platform supports the following testing frameworks: Python Unit Test, Maven, and Postman. We will continue to add new testing frameworks to this list to meet user needs.
Understanding the Concepts of Test Case on Testany Platform
Definition (you may refer back to Glossary (testany.io))
In our product, a "Test Case Package" refers to a bundled unit of a test case that encompasses both the Test Case Meta and Test Case Code. The Test Case Meta provides important context and information about the test case such as author, status, priority, version, and other necessary parameters. The Test Case Code is the executable script that outlines the steps for the test. By packaging the metadata and code together, users can register and manage tests cases more effectively on Testany Platform, and adjust parameters according to different testing scenarios.
1. Test Case Code File
The Test Case Code File contains the actual code that defines the test. It can vary depending on the test framework chosen by the creator.
Key Features:
Framework Dependent: The file type and structure may vary based on the selected test framework.
Logic Definition: Contains the step-by-step instructions for executing the test.
Language Support: Written in the supported programming language(s) of the chosen framework.
2. Test Case Package File
The Test Case Package File is a zip file that encapsulates the Test Case Code File.
Key Features:
Zip Format: Bundled as a zip file.
Includes Code File(s): Combines the code file(s) into a single package.
Portability: Enables easy sharing and registration of the test case within the platform.
Integrity: Ensures that the code and meta files are consistently linked and managed as a unified entity.
Understanding the Concepts of Case Visibility on Testany Platform
In the Testany platform, Case Visibility refers to the level of access control applied to a Case, determining who can view and interact with it. There are two types of Case Visibility: Global Visibility and Workspace-Restricted Visibility. For a comprehensive glossary, please click here.
Global Visibility: Cases are accessible to all active users within the tenant. For a comprehensive glossary, please click here.
Workspace-Restricted Visibility: Cases are only accessible to members of the workspace(s) they are assigned to. For a comprehensive glossary, please click here.
To further illustrate “Workspace Restricted Visibility,” here is an example:
A user has member permissions for the workspaces: WKS, ABC, FTT, and admin permissions for the workspaces: ACT, CPE.
Case 1 is associated with workspaces: ACT, WKS, FTT.
Case 2 is associated with workspaces: FTT, ABD.
Case 3 is associated with workspaces: ABD, CPE.
Case 4 is associated with workspaces: ABD, LBI.
In this scenario:
The user can see Case 1 because their workspace member permissions (WKS, FTT) overlap with the Case’s associated workspaces (WKS, FTT).
The user can see Case 2 because their workspace member permissions (FTT) overlap with the Case’s associated workspaces (FTT).
The user cannot see Case 3 because their workspace member permissions does NOT overlap with the Case’s associated workspaces (ABD, CPE).
The user cannot see Case 4 because there is no overlap between their workspace permissions and the Case’s associated workspaces (ABD, LBI).
Register Test Case
Step-by-Step Guide
1. Login to Testany Platform
Login and click “Test case library” button in the top bar.
2. Click “Register Test Case” button

3. Fill the form
After the "Register a new Test Case" pop-up appears, please fill out the form step-by-step:
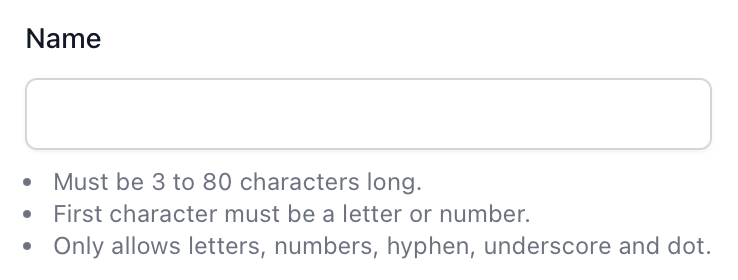
3-1: Name: The name is an important attribute of a test case and will be frequently used in the Testany Platform. To enhance effectiveness and convenience for you and your colleagues, please ensure the name's correctness, completeness, and conciseness.
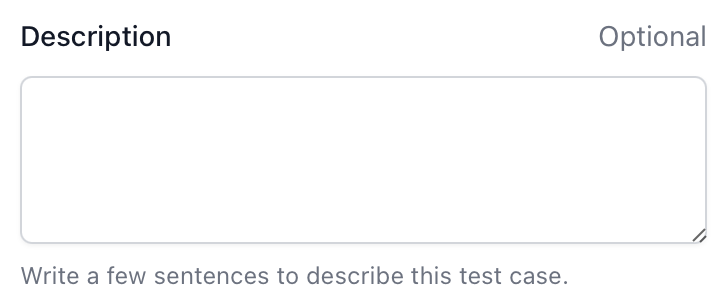
3-2: Description: You can describe your test case in more detail in the Description, making it easier for other users to utilize it. Listing the elements like the test object, preconditions, input data, execution steps, and expected results in the Description will greatly facilitate other users.
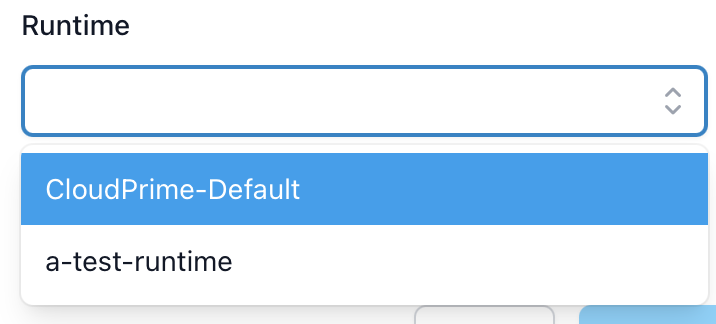
3-3: Select Runtime: You can select a Runtime for the test case to be executed.
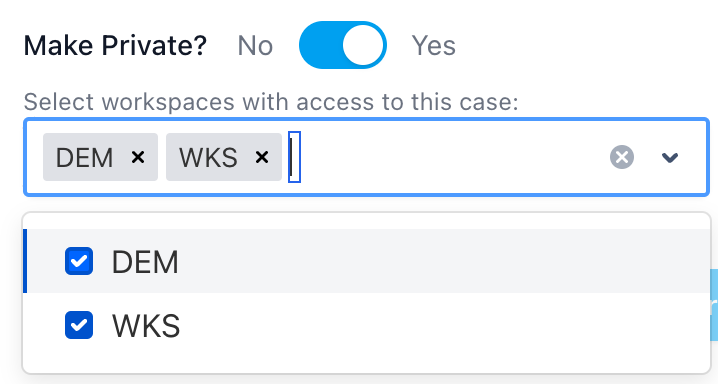
3-4: Make Private?: You can set the case as global visible or restricted to workspaces.
3-4-1: Global Visible: keep “Make Private?” as No

3-4-2: Workspace Restricted Visibility: set “Make Private?” as Yes. Then, utilize the dropdown list to select the workspaces with which you want to share restricted cases.
4. Click “Register & Next” button
Click “Register & Next” button at the bottom right corner of the pop up to register the case. Then, you’ll be redirected to the case detail page.
At this point, the mandatory fields required to run a case are still incomplete. You will need to continue editing the case before a successful dry run can be performed.
Edit Test Case
Before you start, please read the following specifications for the Test Case Package file carefully and adhere to them strictly to ensure that your test case can be registered successfully.
Specification of Test Case Package file
The file must have a .zip extension.
The zip file must contain your test case code file(s).
at least one
.jsonfile (Postman collection file) if you choosePostmanexecutorat least one
.pyfile if you choosePyResorPythonexecutorat least one
.javafile if you chooseMavenexecutorat least one
.javafile if you chooseGradleexecutorat least one
.jmxfile if you chooseJmeterexecutorat least one
.jsor.tsfile if you choosePlaywrightexecutor
If you have multiple files for your test case, the file amount must not exceed 100. (Postman can only support one
.jsoncollection file)The entire test case package .zip file size must not exceed 1MB.
A single test case can only have one environment. If you have a test case which is able to test multiple environments (by adjust environment variables), you need to register them to multiple test cases on Testany Platform.
Step-by-Step Guide
Here are some limitations regarding the editing of a case:
Only the owner of the test case has the authority to make edits.
The test case key is immutable and cannot be altered under any circumstances.
The runtime of the test case cannot be changed.
1. Navigate to the case detail page
2. Fill the required fields
When performing in-line edits, all your changes will be automatically saved after you click the confirm button (✅).
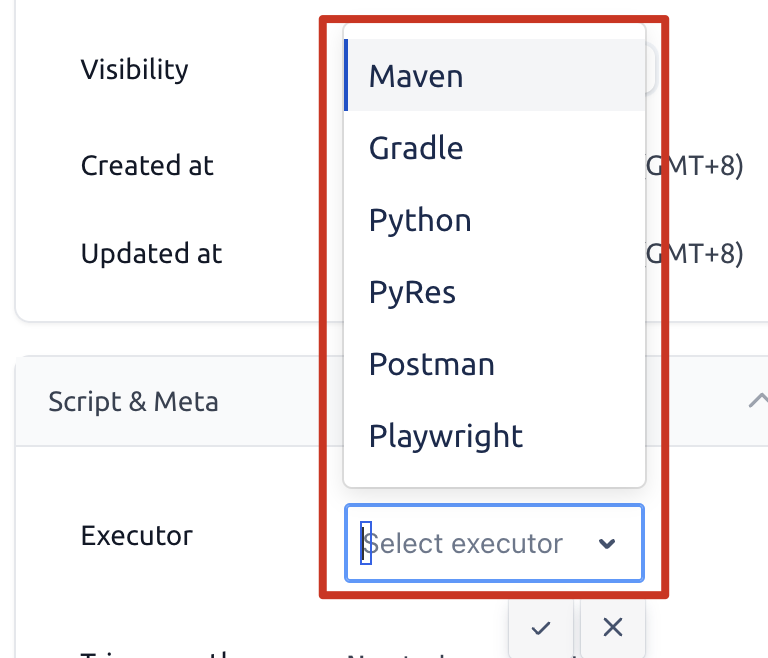
2-1: Test Executor: you can choose the executor for your test case. Please keep in mind that after selecting the framework, you must provide the relative path of the file to be executed (if the executor is Postman, Maven, or Gradle) or the execution command (if the executor is Python, PyRes).
2-2: Definition file: This is where you can upload your test case code file(s). Please ensure that the file(s) are contained within a .zip archive.

2-3: Environments: This is an important attribute of a test case, describing the environment(s) of the service being tested by the test case. On the Testany Platform, each test case can correspond to multiple Environments.

Must be 2-80 chars long
First char must be a letter or number.
Last char must not be a space.
Only uppercase letters, numbers, hyphen, underscore, dot and space are allowed.
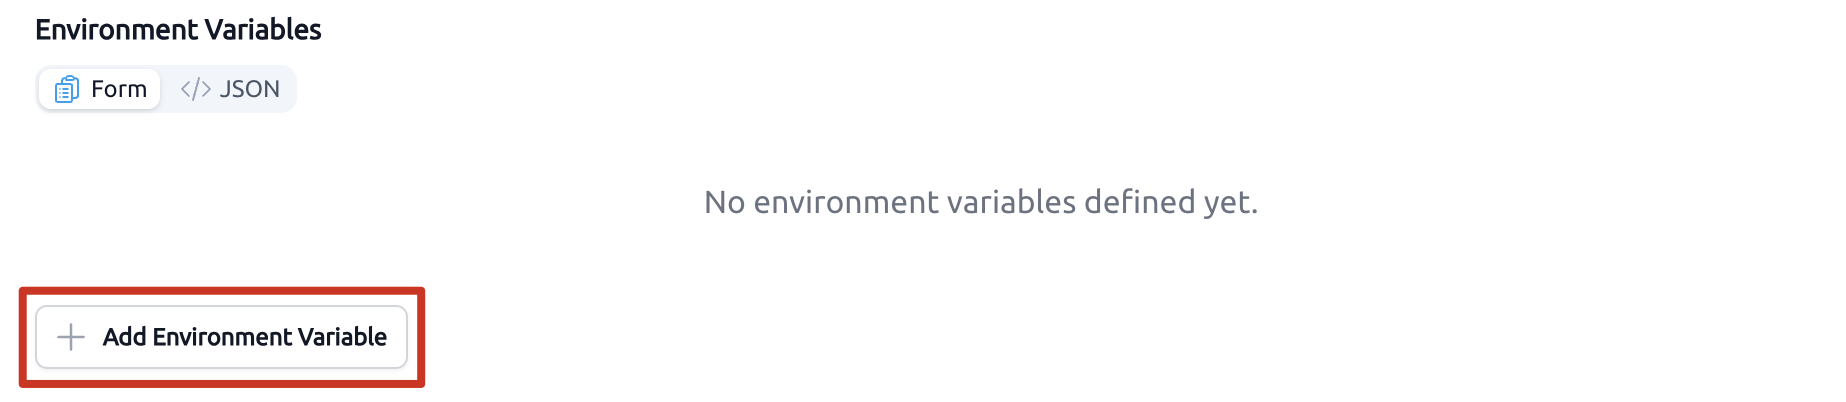
2-4: Environment variables: you can fill in other environment variables required to run the test case.
If a parameter needs to be temporarily changed during a certain execution, you can use an appropriate method to turn it into an environment variable and fill it in here.
More than 16 environment variable sets may cause misbehaving.
Key must within 80 characters long.
Key must consist solely of uppercase letters, digits, and the underscore (comply with POSIX.1-2017).
Key may start with an uppercase letter or an underscore.
Key may NOT start with a digit.
Key & value must not empty.
If you have an environment that you wish to share in your case, you can specify the relay's name and value within the code. For guidance, please refer to the sample code in the section Add code to your test script. After defining the relay, make sure to expose the relay name as a relay environment variable by clicking the relay icon. This will enable its use during pipeline orchestration.

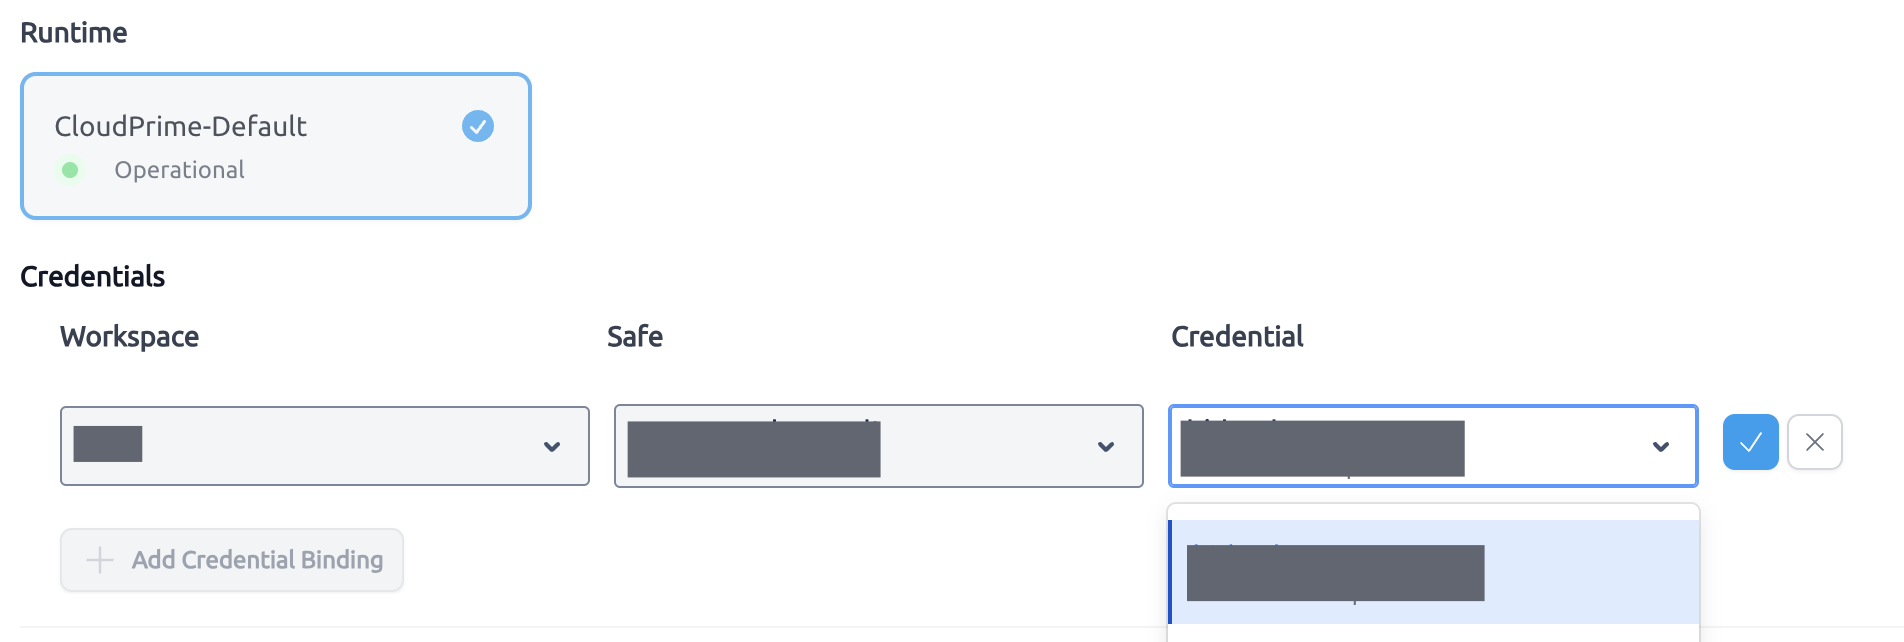
2-5: Secure key reference: If your workspace admin has created credential keys you need, you can bind the credentials to this test case. Please refer to the article Managing Test Credential
Read Test Case
You can view the test cases in the Test Case Library by card, list or directory views, as illustrated in the picture below. If you're looking to locate a specific test case quickly, simply utilize the search boxes located in the top right corner of the page.
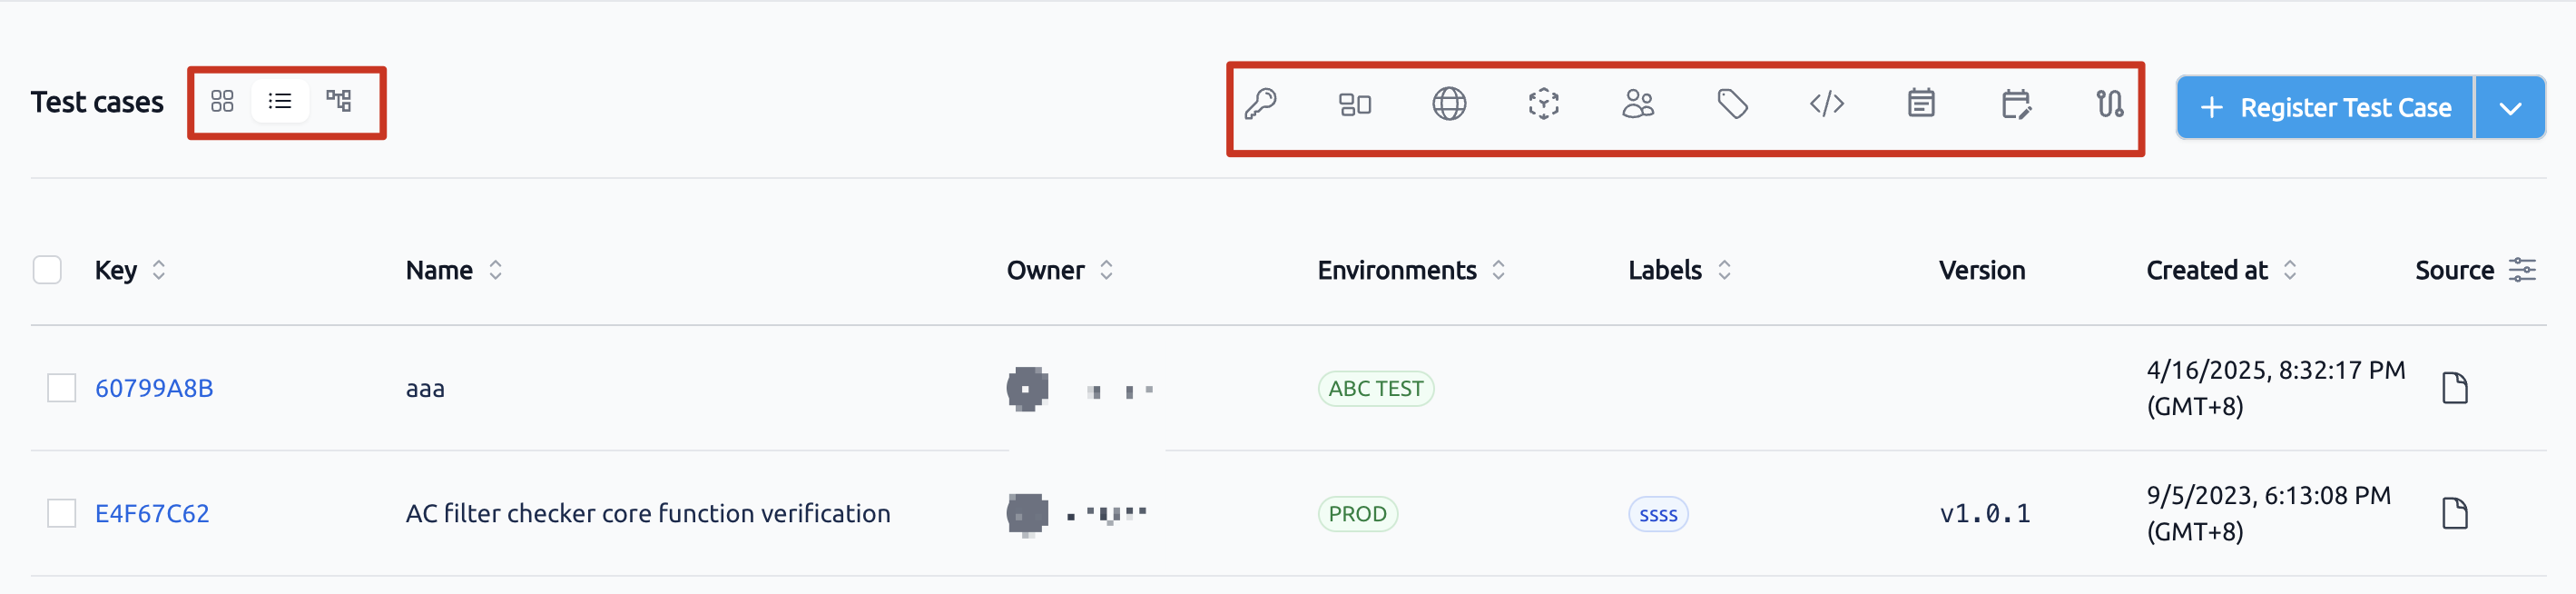
In the case of a relay, you will notice a relay icon located in the top right corner of the case card when viewing in card format. Alternatively, in list view, the icon will be found on the leftmost side of the row corresponding to the case.
You may click the test case to view its detail information. There’re several key elements in this page:
Test case
key, please note the key won’t (and can’t) be changed in any circumstances.OwnerVisibilityEnvironmentsLabelsVersionRuntimeMeta(includingenvironment_variables,executorandpath/command)Output
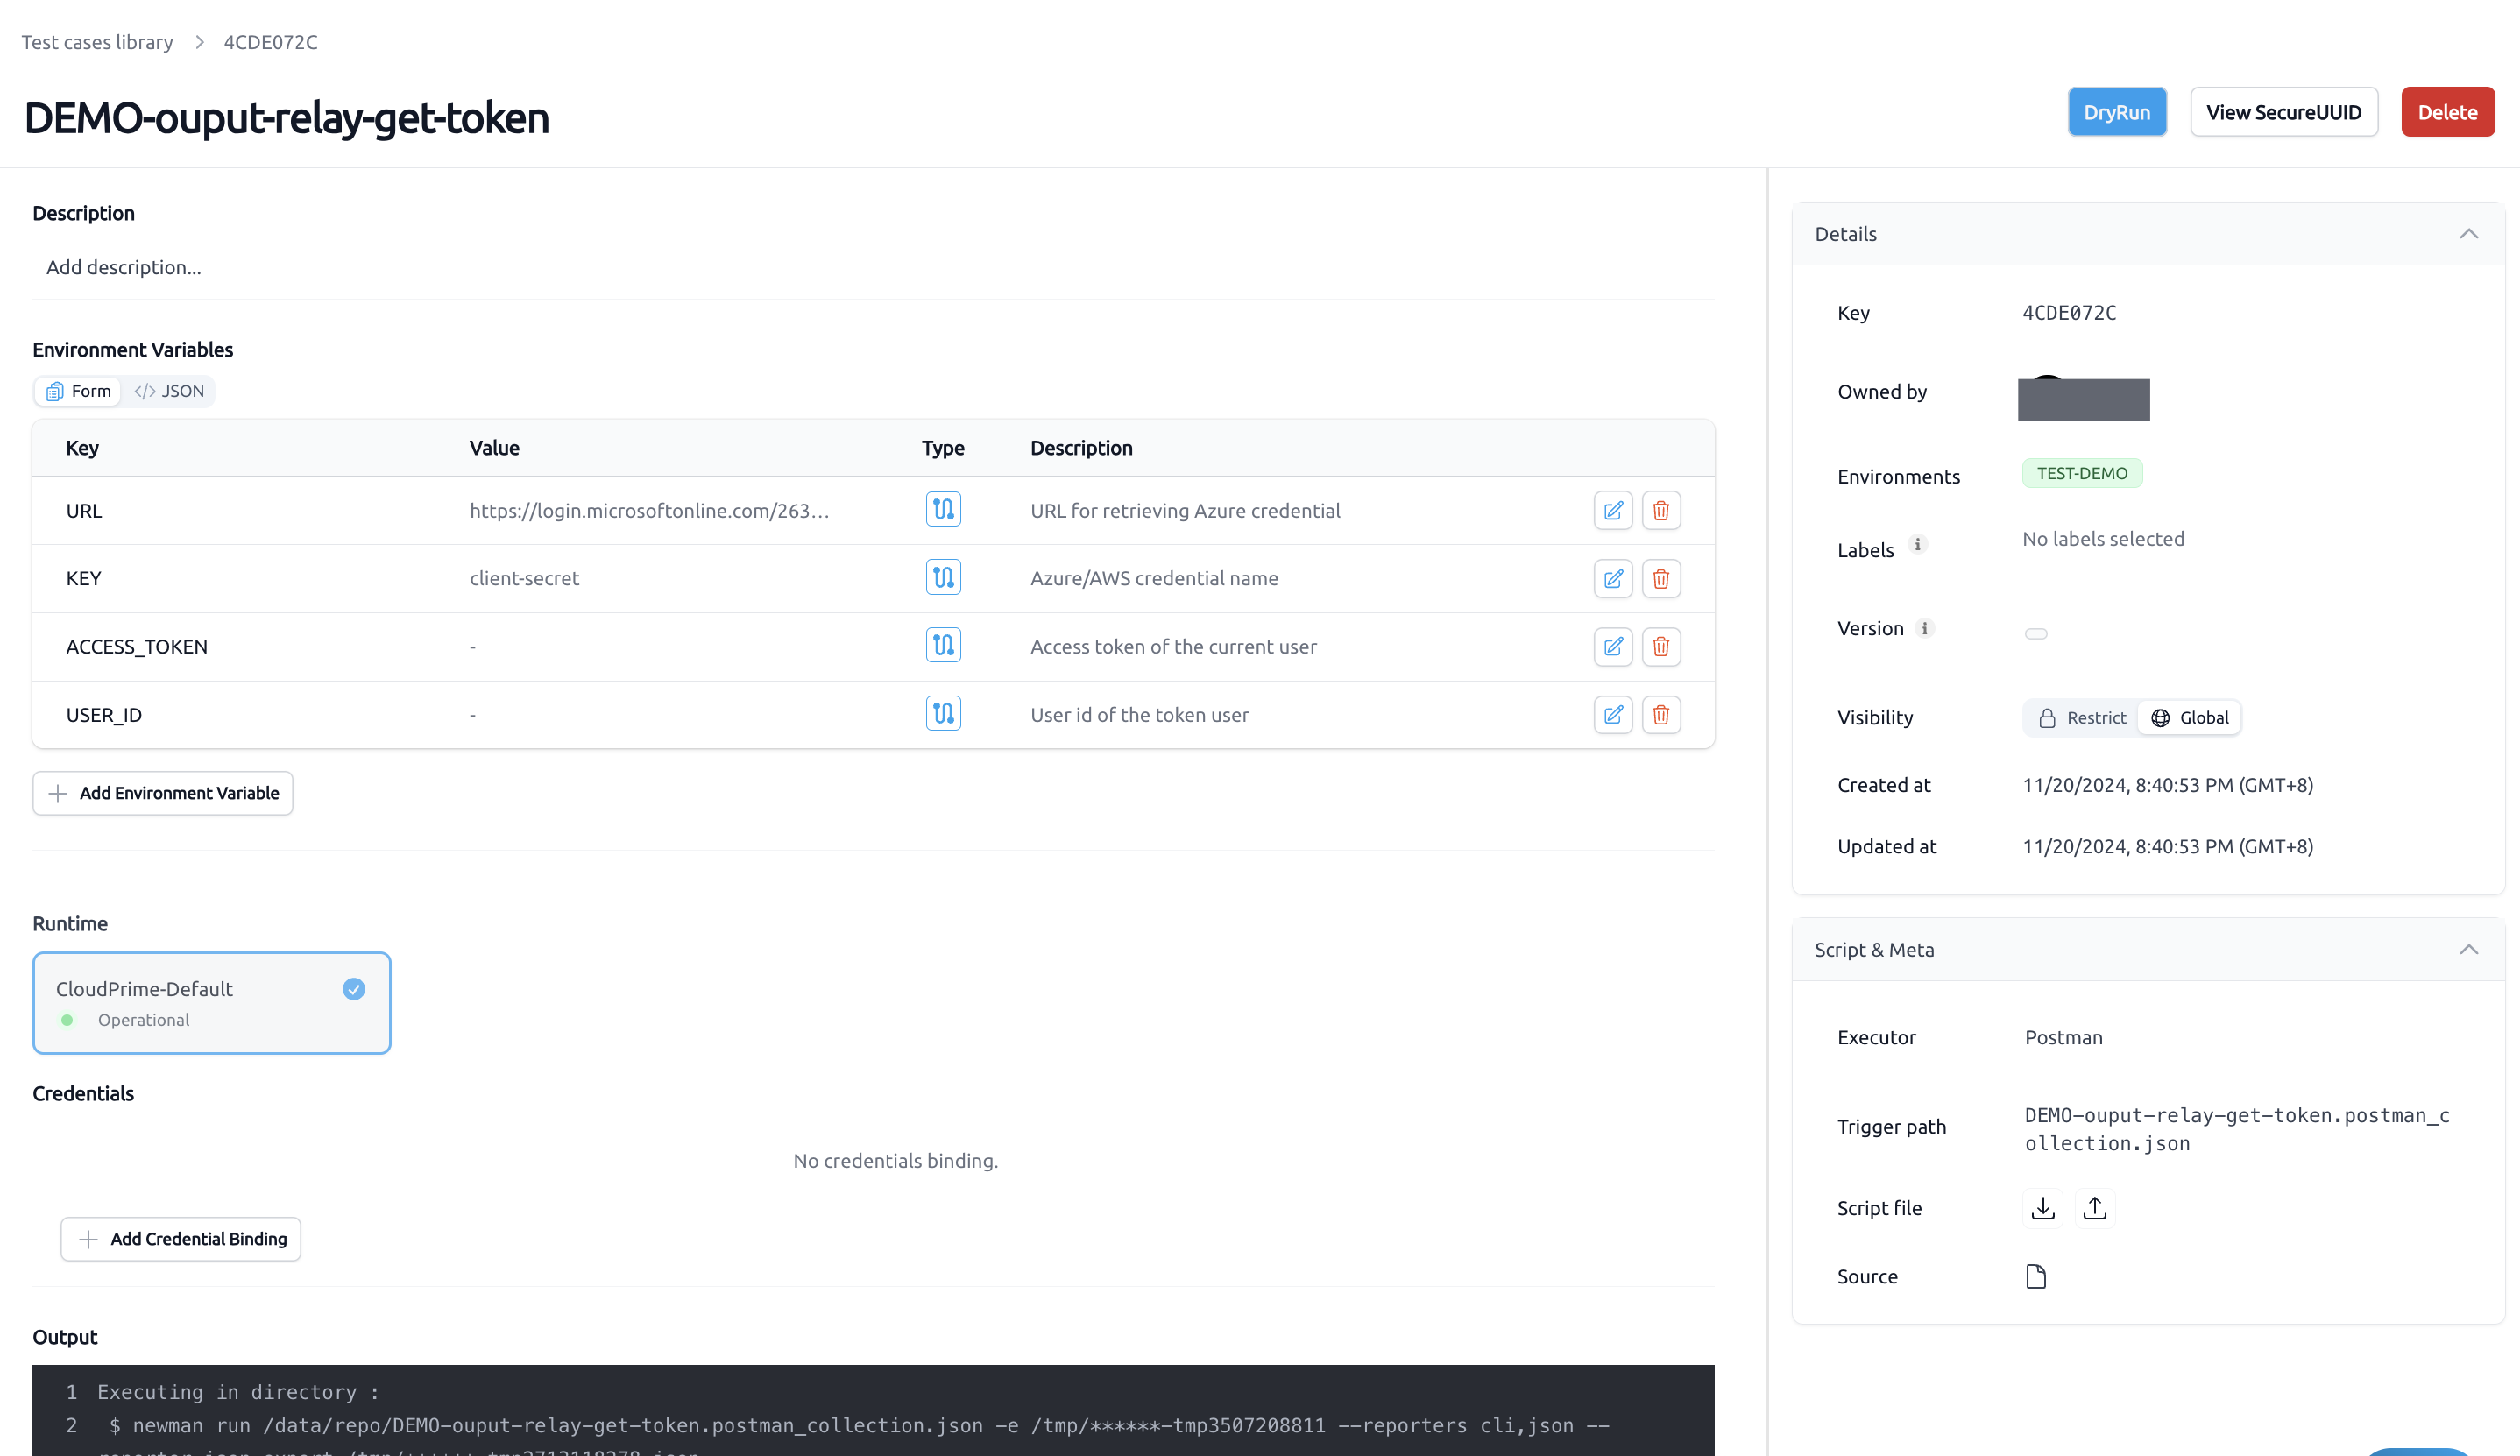
When a relay-related environment variable is defined in a case, as illustrated above, you will see the blue relay icon corresponding to that specific environment in the ‘Type’ column.
Dry Run Test Case
If a case has not been executed since its last modification, you will see the following indicators:
A message bar located beneath the case name serves as a reminder for you and other users who have access to this case, indicating that a successful dry run has not yet been completed.
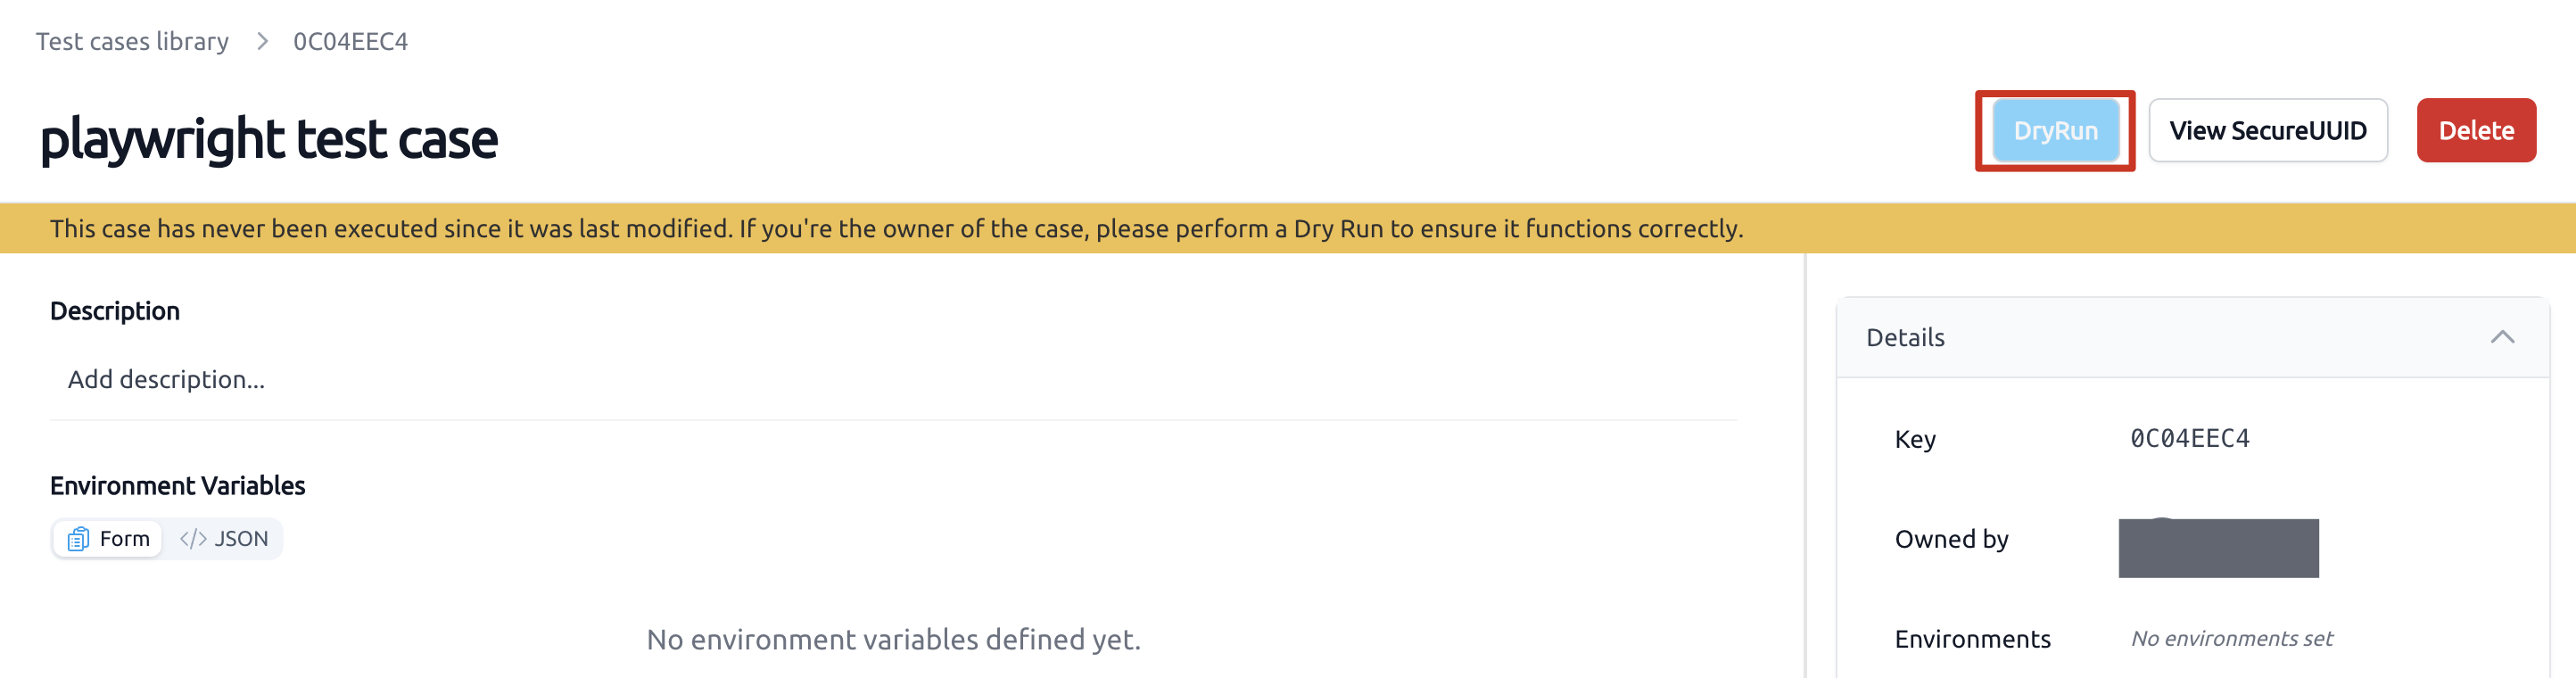
The “DryRun” button is activated, signaling that as the case owner, you can revisit this page at any time and click it to perform the Dry Run.
The output indicates that a successful dry run for this case has not been completed yet.
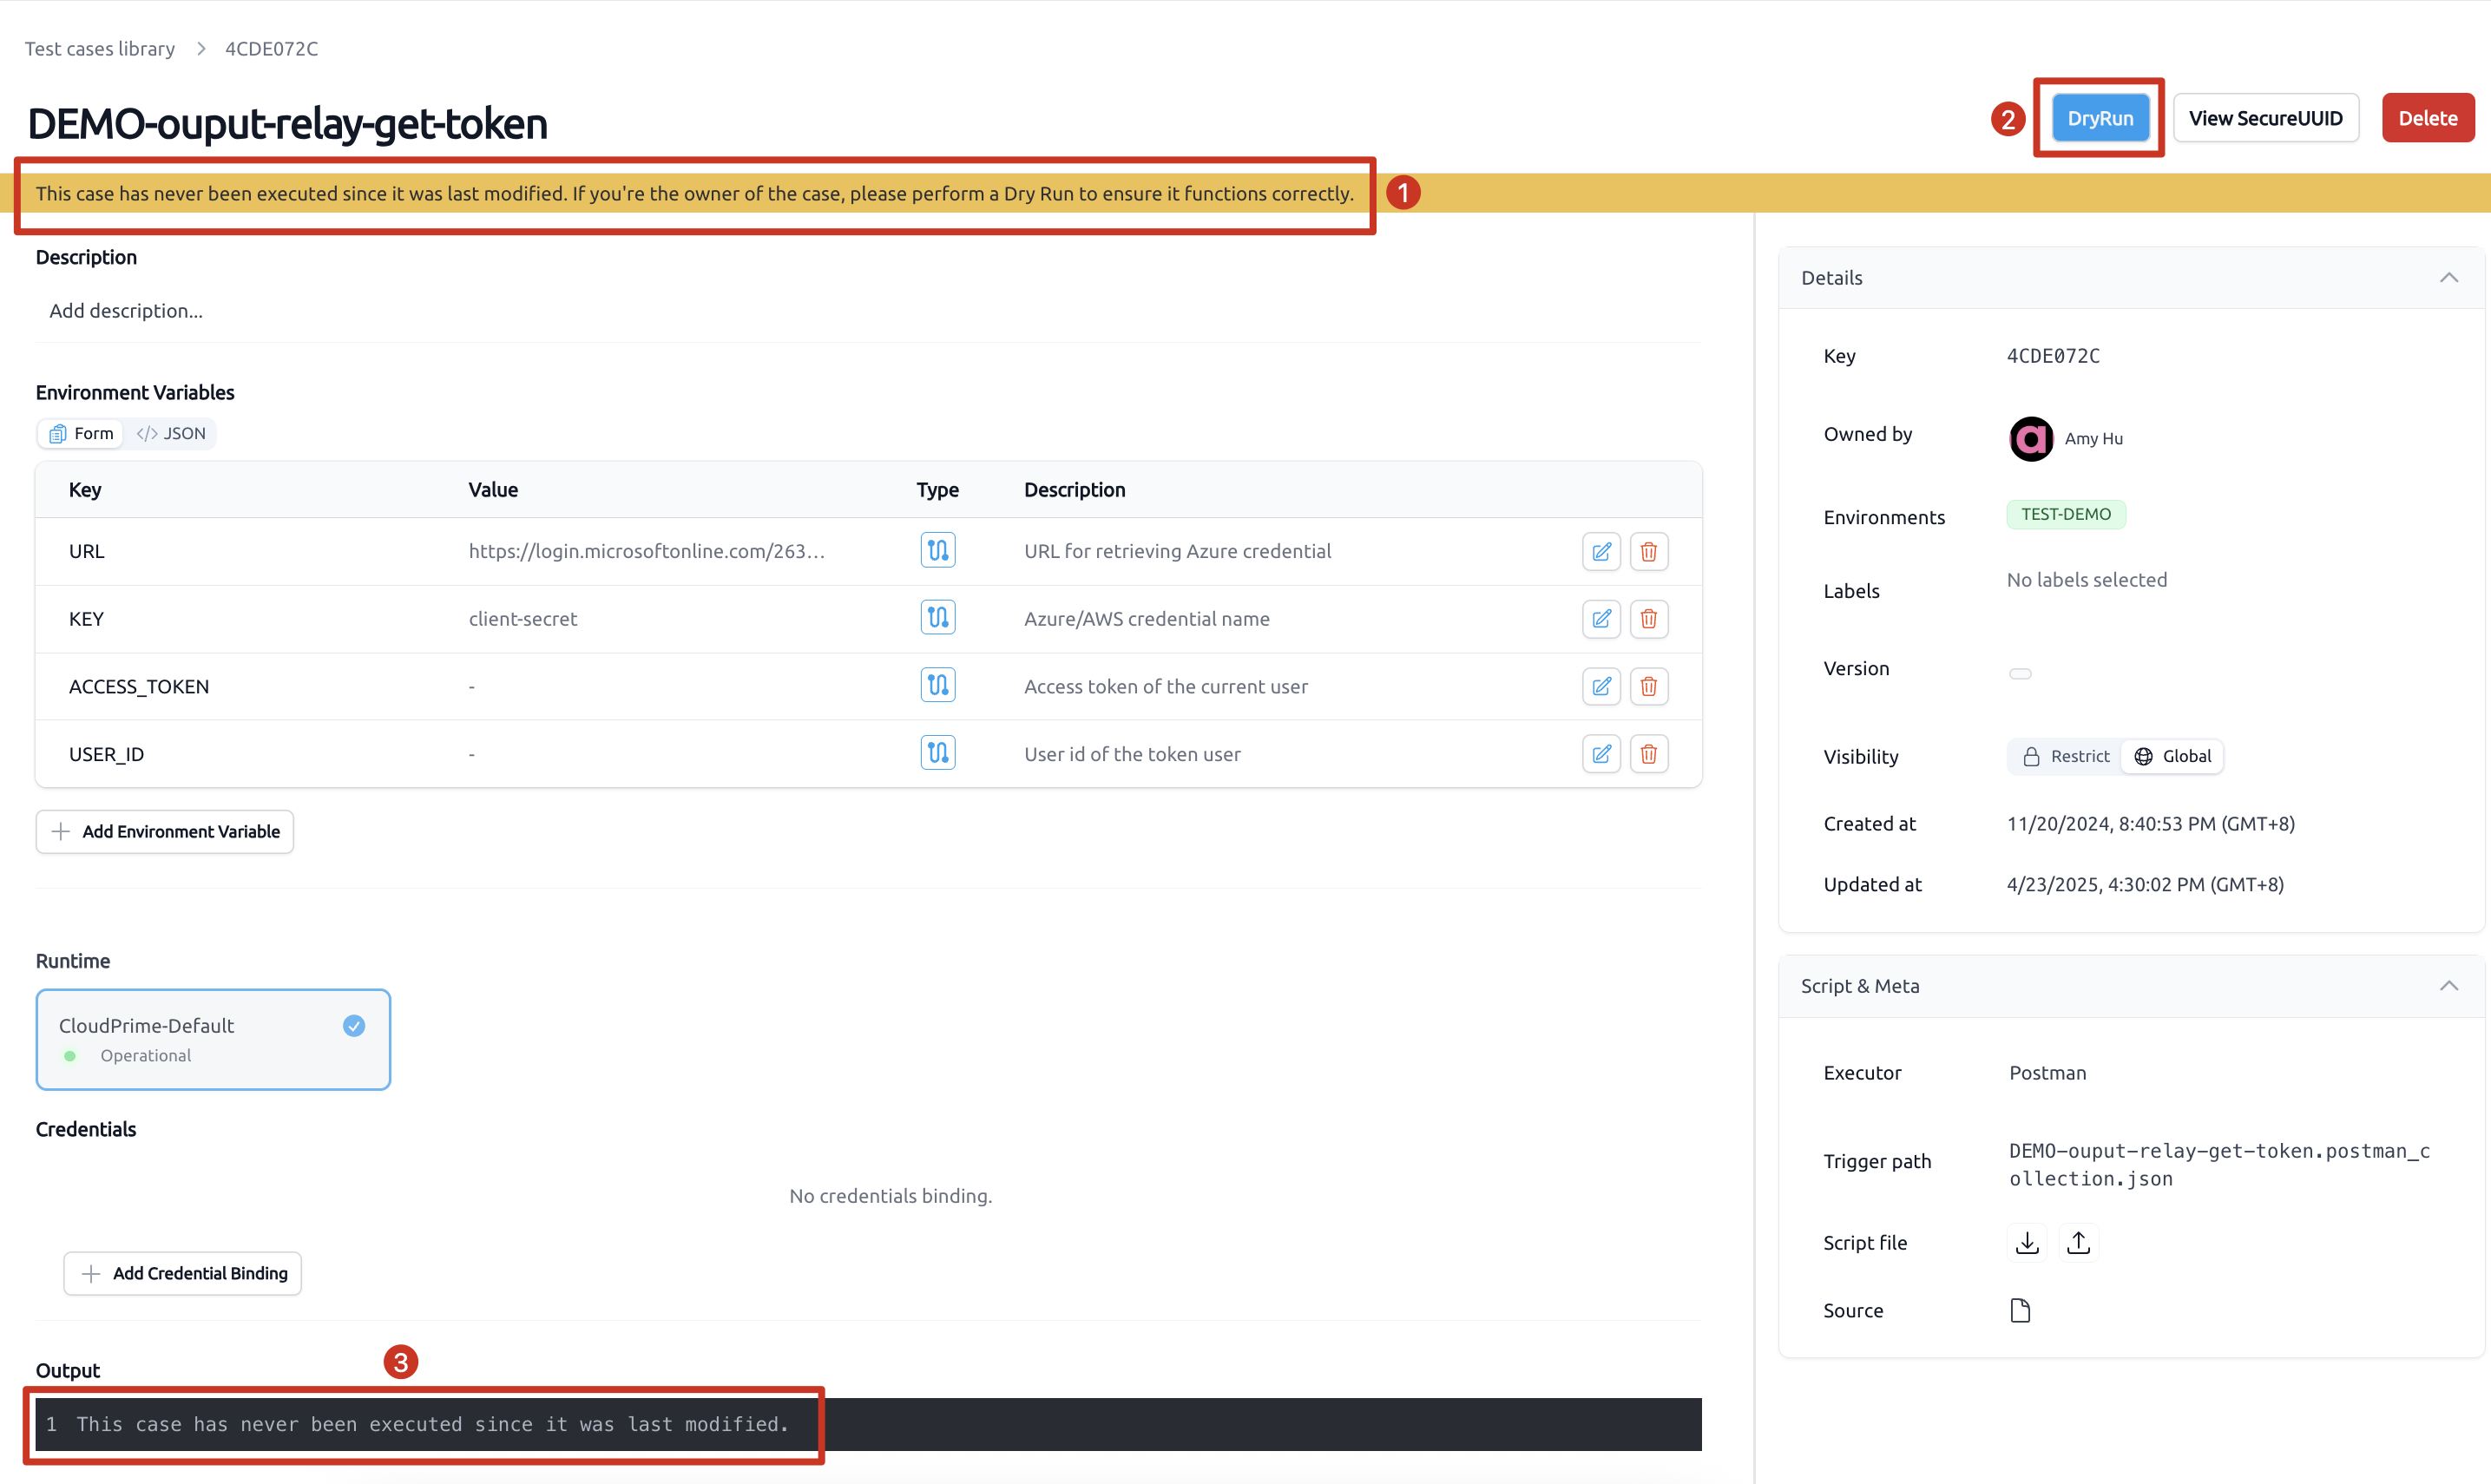
By clicking “Dry Run” button, the platform will promptly perform a dry run to verify whether the test case is qualified and compatible. Following this, you will be directed to the dry run page of the test case, where you can review the displayed information to ensure it aligns with your expectations.

The "Dry Run" button will be disabled if any required fields are missing.
Delete Test Case
1. Navigate to case detail page
2. As case owner, click “Delete” button at the top right of the case
If a case is assembled to one or more pipeline(s), you will receive a 409 error and the deletion is not allowed. To successfully delete the case, please ensure that it is removed from all associated pipeline(s) first.
If a case is imported from git, it can’t be manually deleted. For more detail information, please refer to the document Bulk Manage Test Cases - 3.5 Bulk Delete.