Managing Test Case - Playwright
Overview
Testany's "Playwright Executor" to manage, run, and review automated test cases with ease and flexibility.
In this guide, you’ll discover how Testany’s Playwright Executor simplifies the end-to-end Playwright testing lifecycle — from recorded end‑to‑end scenarios to executing them across multiple browsers and reviewing results — all within a unified, user‑friendly interface.
Using Playwright Executor
Method 1: Direct Upload
Prepare Test Cases
Similar to other testing, you need to prepare the following files:
Test Code File: For example,
e2e-demo.spec.jsore2e-demo.spec.ts.Config File (
playwright.config.js)Project Dependency File (
package.json)
Package Test Cases
Ensure this structure before zipping:
playwright/                        ← ✅ Must include root directory
├── node_modules/                  ← ⛔ Exclude
├── playwright-report/             ← ⛔ Exclude
│   └── ...
├── test-results/                  ← ⛔ Exclude
│   └── ...
├── tests/                         ← ✅ Must include directory of your test files
│   └── e2e-demo.spec.js           ← ✅ Must include your test files
├── playwright.config.js           ← ✅ Must include Playwright config
└── package.json                   ← ✅ Must include project dependencies
To prepare for uploading to the Testany platform, ensure that you package all essential files into a zip file, such as e2e-demo.zip.
Register on the Testany Platform
Once you have successfully prepared the zip file, you can register your test cases on the Testany platform. Refer to the "Managing Test Case" guide in our document for detailed steps on how to register test cases.
Ensure below meta are properly filled in test case detail:
Executor:
PlaywrightTrigger Path: Specify the path from the root directory of your test file (spaces are not permitted). For example:
playwright/tests/e2e-demo.spec.jsConfig Path: Indicate the path from the root directory of
playwright.config.js. For instance:playwright/playwright.config.js
Method 2: Import from Git
Push Codes to Git
Ensure the same directory structure is in your repo.
playwright/                        ← ✅ Must include root directory
├── node_modules/                  ← ⛔ Optional
├── playwright-report/             ← ⛔ Optional
│   └── ...
├── test-results/                  ← ⛔ Optional
│   └── ...
├── tests/                         ← ✅ Must include directory of your test files
│   └── e2e-demo.spec.js           ← ✅ Must include your test files
├── playwright.config.js           ← ✅ Must include Playwright config
└── package.json                   ← ✅ Must include project dependencies
Import from Git
Once you have successfully pushed the codes, you can bulk-register your test cases on the Testany platform. Refer to the "Bulk Manage Test Cases" guide in our document.
Viewing Playwright Reports in Testany
Access the Report
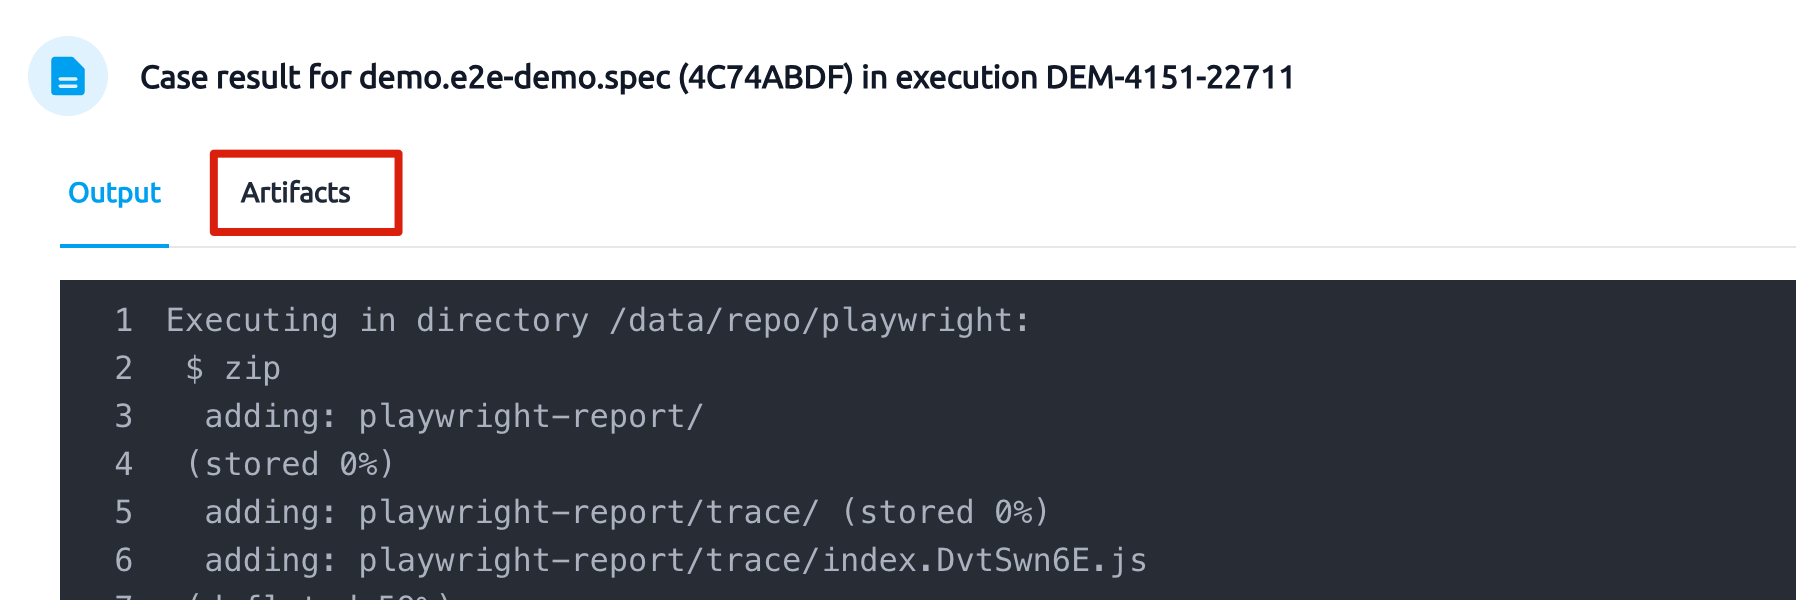
In the execution history, click View log

Switch to the Artifacts tab

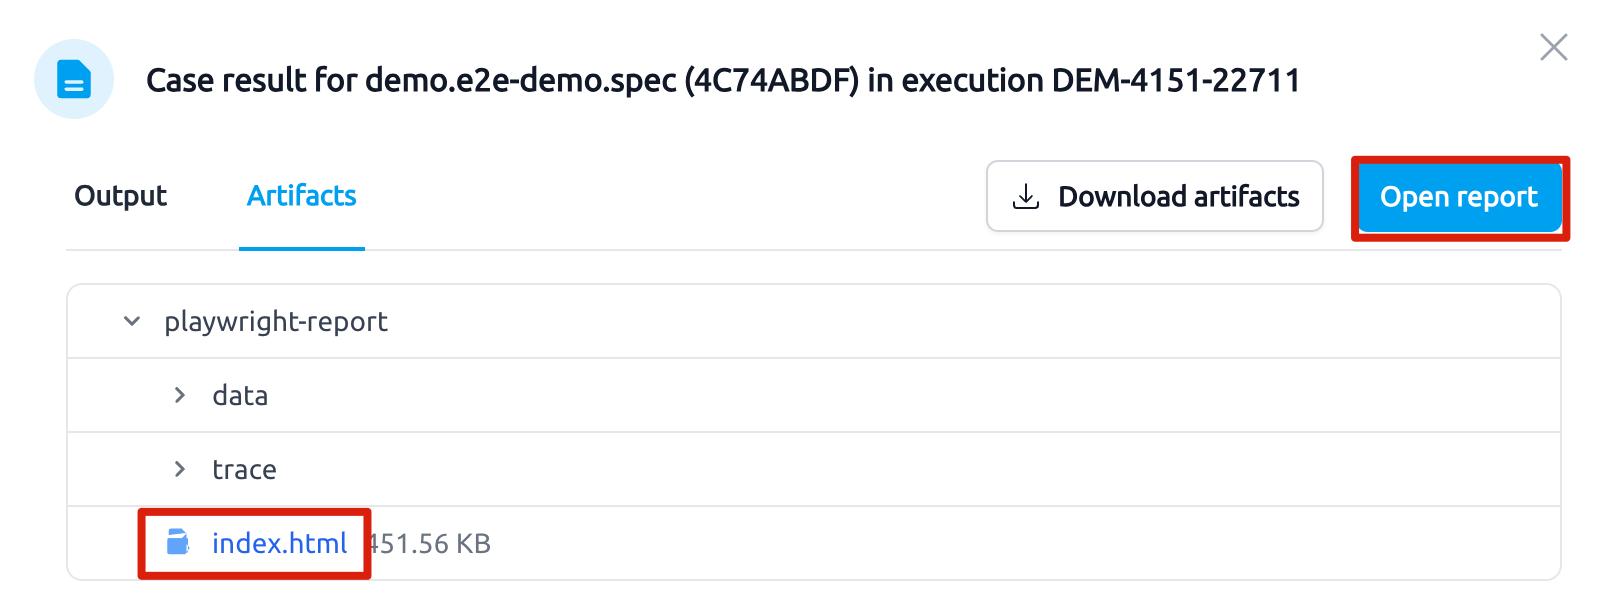
Click Open report or expand playwright-report → index.html

Interpreting the Report
Overview Page
List of the test cases:
✅ Green: Passed tests
❌ Red: Failed tests
Click a file or test to see details.
Detail Panel
❗ Errors: error message, expected vs. actual, code location
📝 Test Steps: recorded interactions with timings (green=success, red=failure)
🎥 Videos: play the full test recording (if video: 'on' or retain-on-failure)
🔁 Traces: download trace.zip to replay in Trace Viewer (npx playwright show-trace trace.zip)
